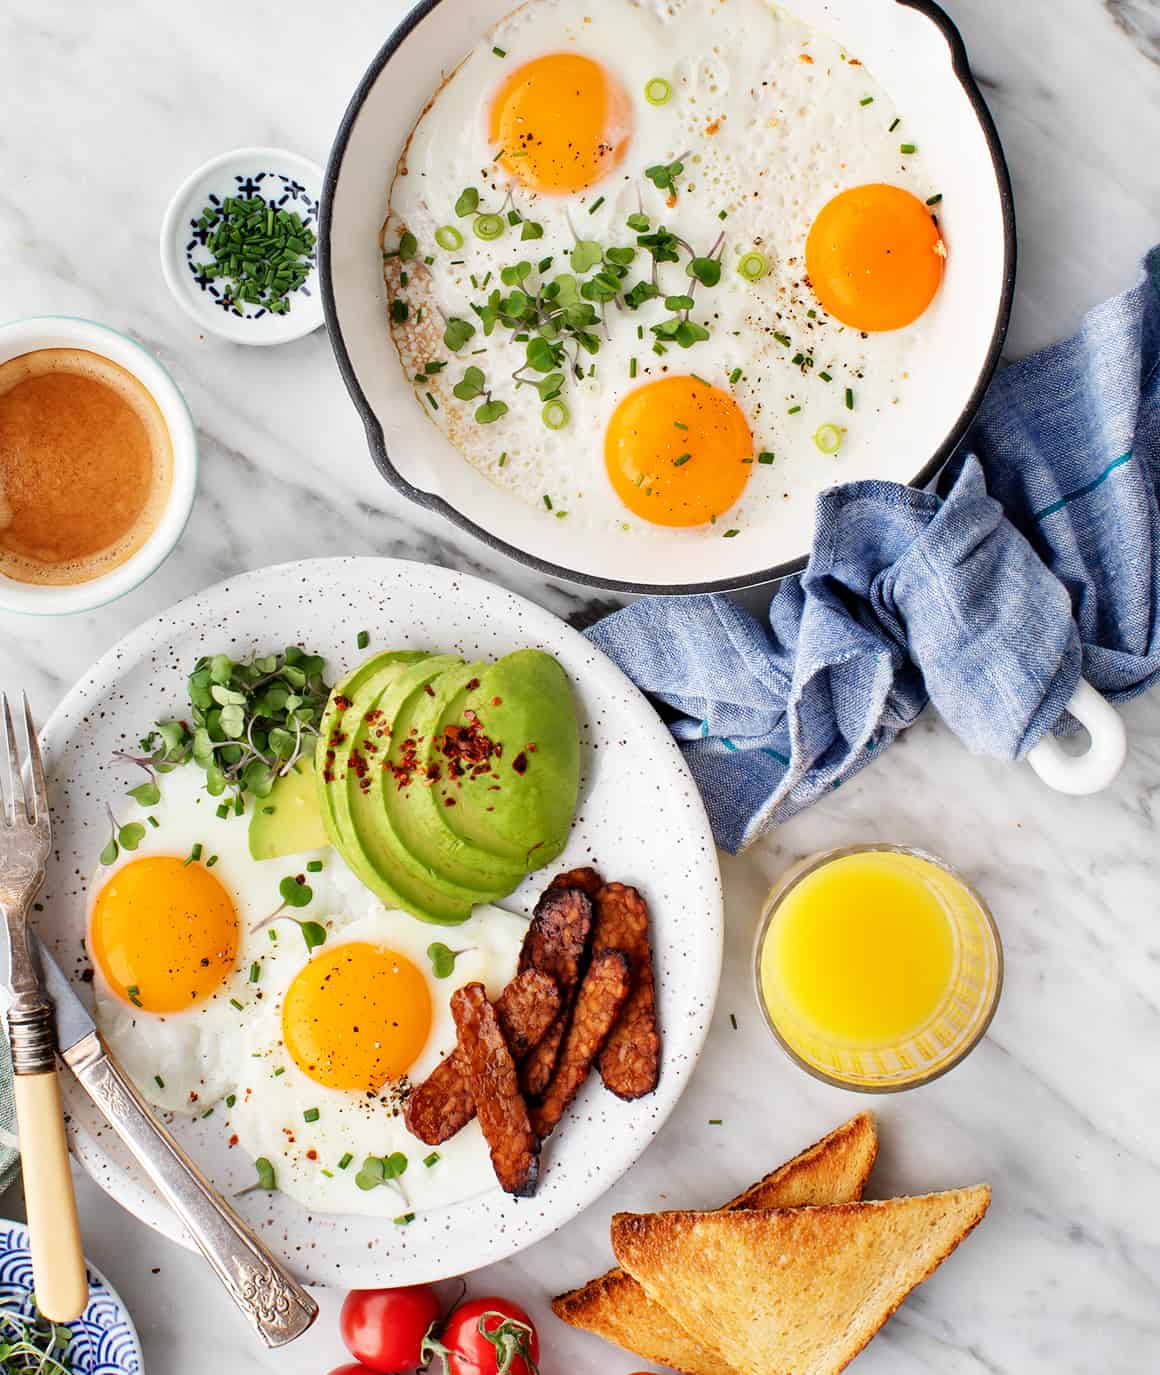
Learn how to make perfect sunny side up eggs every time! Enjoy them for breakfast, or top them onto bowls, burgers, avocado toast, and more.

Sunny side up eggs have to be one of the simplest foods to cook. Nevertheless, we’ve all had ones that are scorched on the bottom and raw on top, rubbery, or just plain greasy. So today, I’m sharing my tried-and-true method for how to cook sunny side up eggs. It’s quick and easy, and it doesn’t require any fancy equipment or special ingredients. All you’ll need is olive oil, eggs, and a good nonstick skillet!
Still, the eggs come out perfectly every time, with tender, just-set whites and runny yolks. Make a few for breakfast, or add one to any meal for extra protein. No matter how you serve them, they’re guaranteed to be delicious.

How to Make Sunny Side Up Eggs
Making a flawless sunny side up egg is easy! Just follow these simple tips:
- Use a good nonstick pan. Eggs that stick to a frying pan might be bad, but cleaning said pan is even worse. To avoid mangled eggs and a messy pan, cook sunny side up eggs in a nontoxic, nonstick skillet with a lid. I almost always use my GreenPan skillets for cooking eggs.
- Or a well-seasoned cast-iron skillet. If you don’t have a nonstick pan, a well-seasoned cast iron skillet will work here too. Use more oil than you would with a nonstick skillet – enough to generously coat the bottom of the pan. To prevent sticking, make sure the oil is hot before you add the eggs.
- Crack each egg into an individual bowl or ramekin. To avoid breaking the yolks before you add the eggs to the pan, crack each one into an individual bowl or ramekin. When you’re ready to cook, heat a pan over low heat, and brush it with olive oil. Then, carefully pour each egg into the pan.
- Cook them low and slow. If you cook the eggs at too high a temperature, the bottoms will burn before the whites are cooked through. Low heat is essential for evenly cooking the whites and still getting a perfect runny egg yolk.
- Cover the pan. Covering the pan is key for cooking the eggs until the whites are set but the yolks are still runny. If you can, use a pan with a glass lid so that you can keep an eye on the eggs without uncovering them.
Use a spatula to transfer the cooked eggs to plates, being careful not to break the yolks. Season with salt and pepper, and enjoy!
What to Serve with Sunny Side Up Eggs
Sunny-side up eggs are a fantastic healthy breakfast! Make them a full meal by pairing them with avocado slices, tempeh bacon, and/or fresh fruit, and don’t forget the toast to sop up any yolk that gets left behind on your plate. For a bigger brunch, serve the eggs alongside banana pancakes, gluten-free pancakes, or French toast with mimosas, orange juice, or a smoothie to drink.
But sunny-side up eggs aren’t just breakfast food. Top one onto avocado toast for lunch, or add one to a bowl of creamy polenta and sautéed mushrooms for extra protein. They’re also a key ingredient in bibimbap, a spicy Korean rice bowl. Look for my recipe on Sunday!

More Favorite Breakfast Recipes
If you love these sunny side up eggs, try one of these healthy breakfast recipes next:
Then, check out this post for 60+ healthy breakfast ideas and this post for my top brunch recipes!

Sunny Side Up Eggs
Ingredients
- 2 to 3 eggs
- Extra-virgin olive oil, for the pan
- Sea salt and freshly ground black pepper
Instructions
- Crack each egg into a ramekin or small bowl.
- Brush a nonstick skillet with olive oil and heat over low heat. Pour in the eggs, cover with a clear glass lid, and continue to cook over low heat for about 2 minutes, or until the whites are set.
- Season with salt and pepper and serve hot.


“This post was very informative! The tips for making Sunny Side Up Eggs were very helpful. I especially liked the instructions on oil and correct temperature. Thanks for sharing!”
Hi, glad you enjoyed it!
I followed your instructions for Sunny Side Up Eggs. Had a nonstick skillet, so I didn’t brush the bottom with EVOO. The Yolks were runny and fine, but the whites were like rubbery and had a light brown skin that formed on the bottom. What did I do wrong???
Did you cook it too long?
Made these this morning and rocked them! My boyfriend said they were better than his. The key is low heat! So good!
Covering the pan made a great difference. Thank you for the great tip.
I’m so happy it worked well for you!