

Learn how to make pie crust with this easy pie dough recipe! It yields a flaky, buttery crust that's perfect for using in your favorite homemade pies.


Meet my best pie crust recipe! I tested and tweaked this recipe to perfection a few years ago, and now, it’s the only one I use. I love it because the crust comes out tender and flaky every time. Made with 100% butter, it also has a delicious buttery flavor.
This pie crust recipe is easy to make. Adapted from J. Kenji López-Alt, it comes together in the food processor with 5 basic ingredients.
Below, I’m sharing the complete recipe, plus step-by-step photos and tips. Even if you’re new to making pie crust, you can master this recipe. I hope you love it as much as I do!

Pie Dough Ingredients
Here’s what you’ll need to make this easy pie crust recipe:
- All-purpose flour – I use 2 2/3 cups to make two crusts, enough for one 9- or 9.5-inch double crust pie or two single crust pies. Spoon and level your flour to avoid packing too much into your measuring cup!
- Cold butter – Many recipes call for a mix of butter and shortening (or even lard), but I prefer to make an all-butter pie crust. The flavor is richer, and the crust has a lovely flaky texture.
- Ice water – Cold water is key! It keeps the butter cold as you work with the dough.
- Apple cider vinegar – It makes the dough a little more flavorful. Plus, if you overwork the dough, developing the gluten in the flour, the vinegar will keep it tender instead of tough.
- And sea salt – To bring out the crust’s rich, buttery flavor.
Find the complete recipe with measurements below.
How to Make Pie Crust
In a traditional pie dough recipe, you’d cut the fat into the flour by hand or with a pastry cutter. Though you can make great crusts with this method, I prefer the one in this recipe. It’s more foolproof, and the dough is much more pliable.
Inspired by a technique that J. Kenji López-Alt developed at Cook’s Illustrated, it uses a food processor to combine the butter with the flour in two parts.
Here’s how it goes:
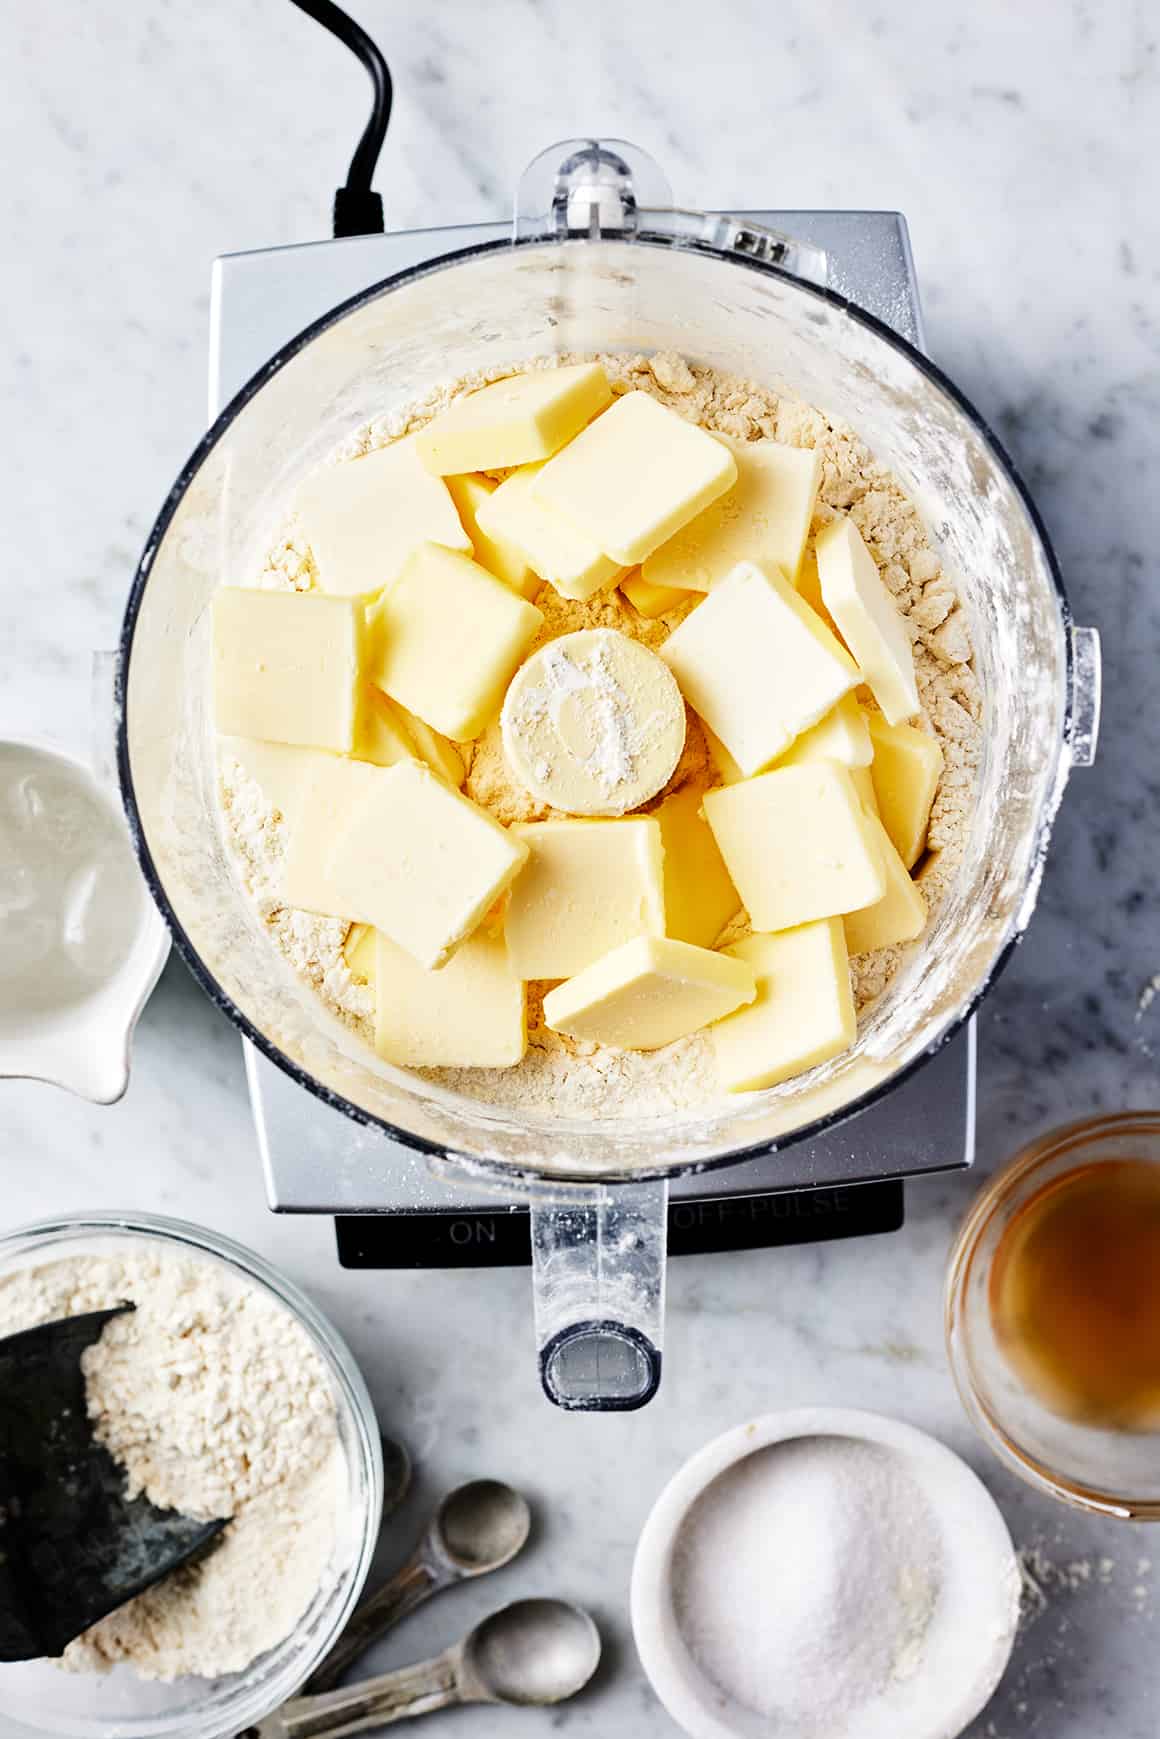
First, pulse the butter into part of the flour. Place 1 2/3 cups of the flour and the salt in a food processor and pulse to combine. Spread the butter on top.

Pulse until the butter is thoroughly incorporated with the flour and the dough starts to form clumps.
Before you move on to the next step, there should be no dry flour remaining.
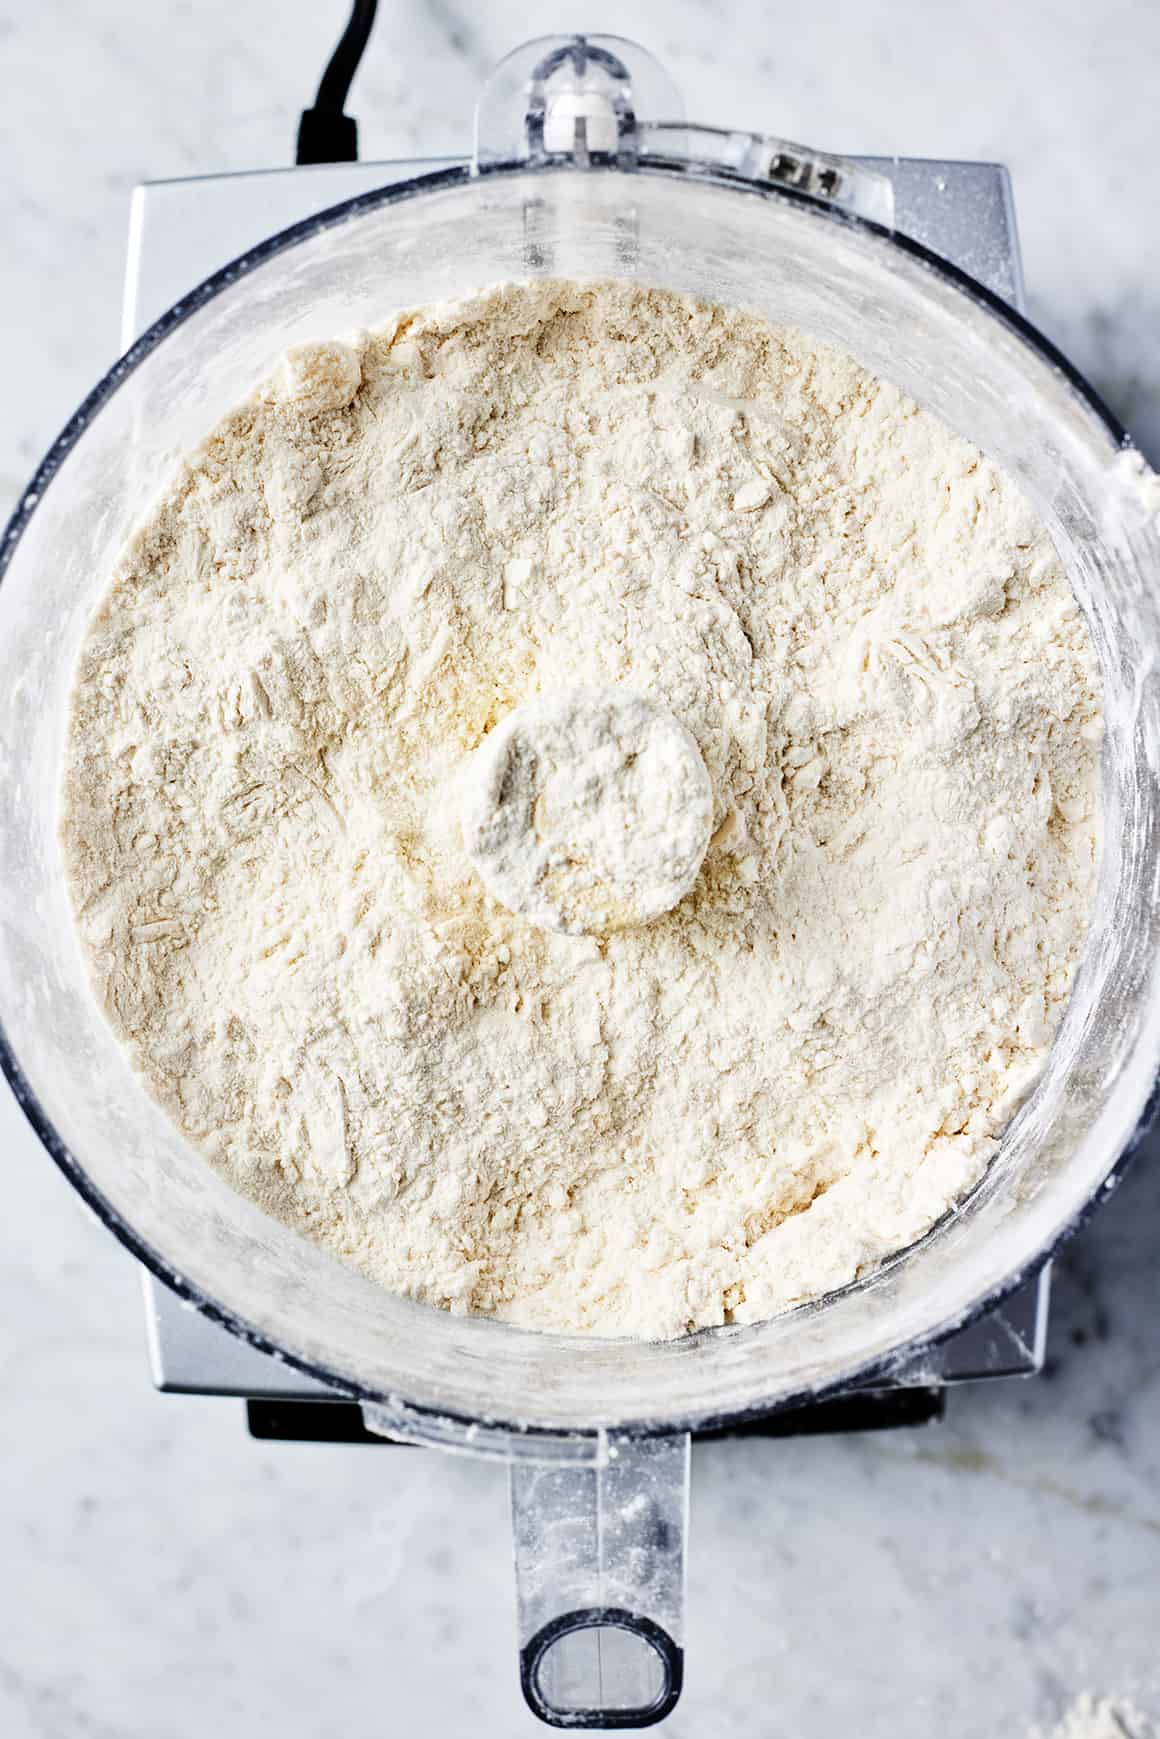
Then, add the remaining flour. Spread the flour/butter mixture evenly in the food processor and sprinkle the remaining flour on top.

Briefly pulse until the dough becomes crumbly.
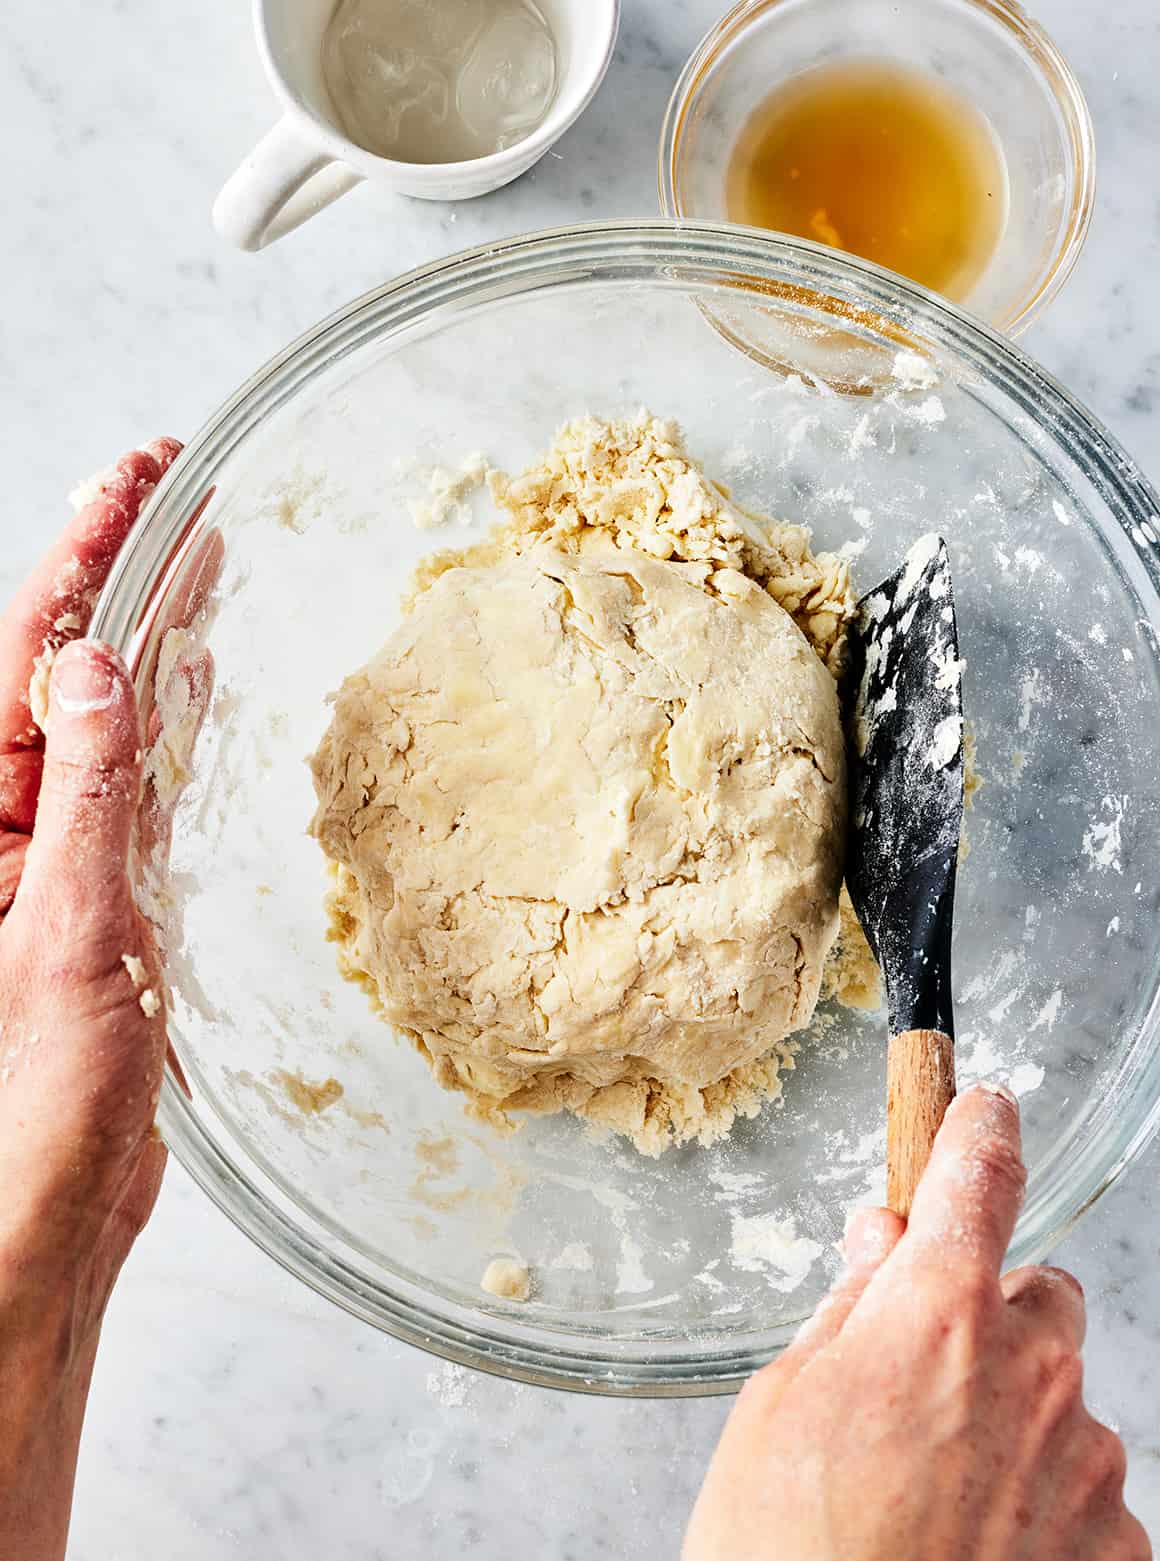
Next, add the liquid. Transfer the dough to a large bowl and sprinkle in the water and vinegar. Use a spatula to fold and press the dough until it comes together into a ball.
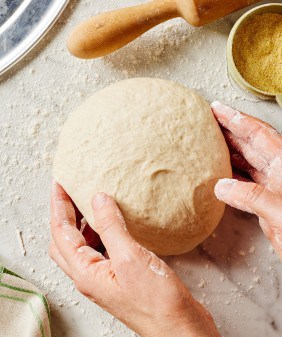
Finally, chill the dough. Divide it in half and flatten each half into a disk. Wrap tightly in plastic wrap and refrigerate for at least 2 hours or up to 2 days.
Rolling Out Pie Crust
Once the dough has chilled, you can roll it out and assemble your pie!
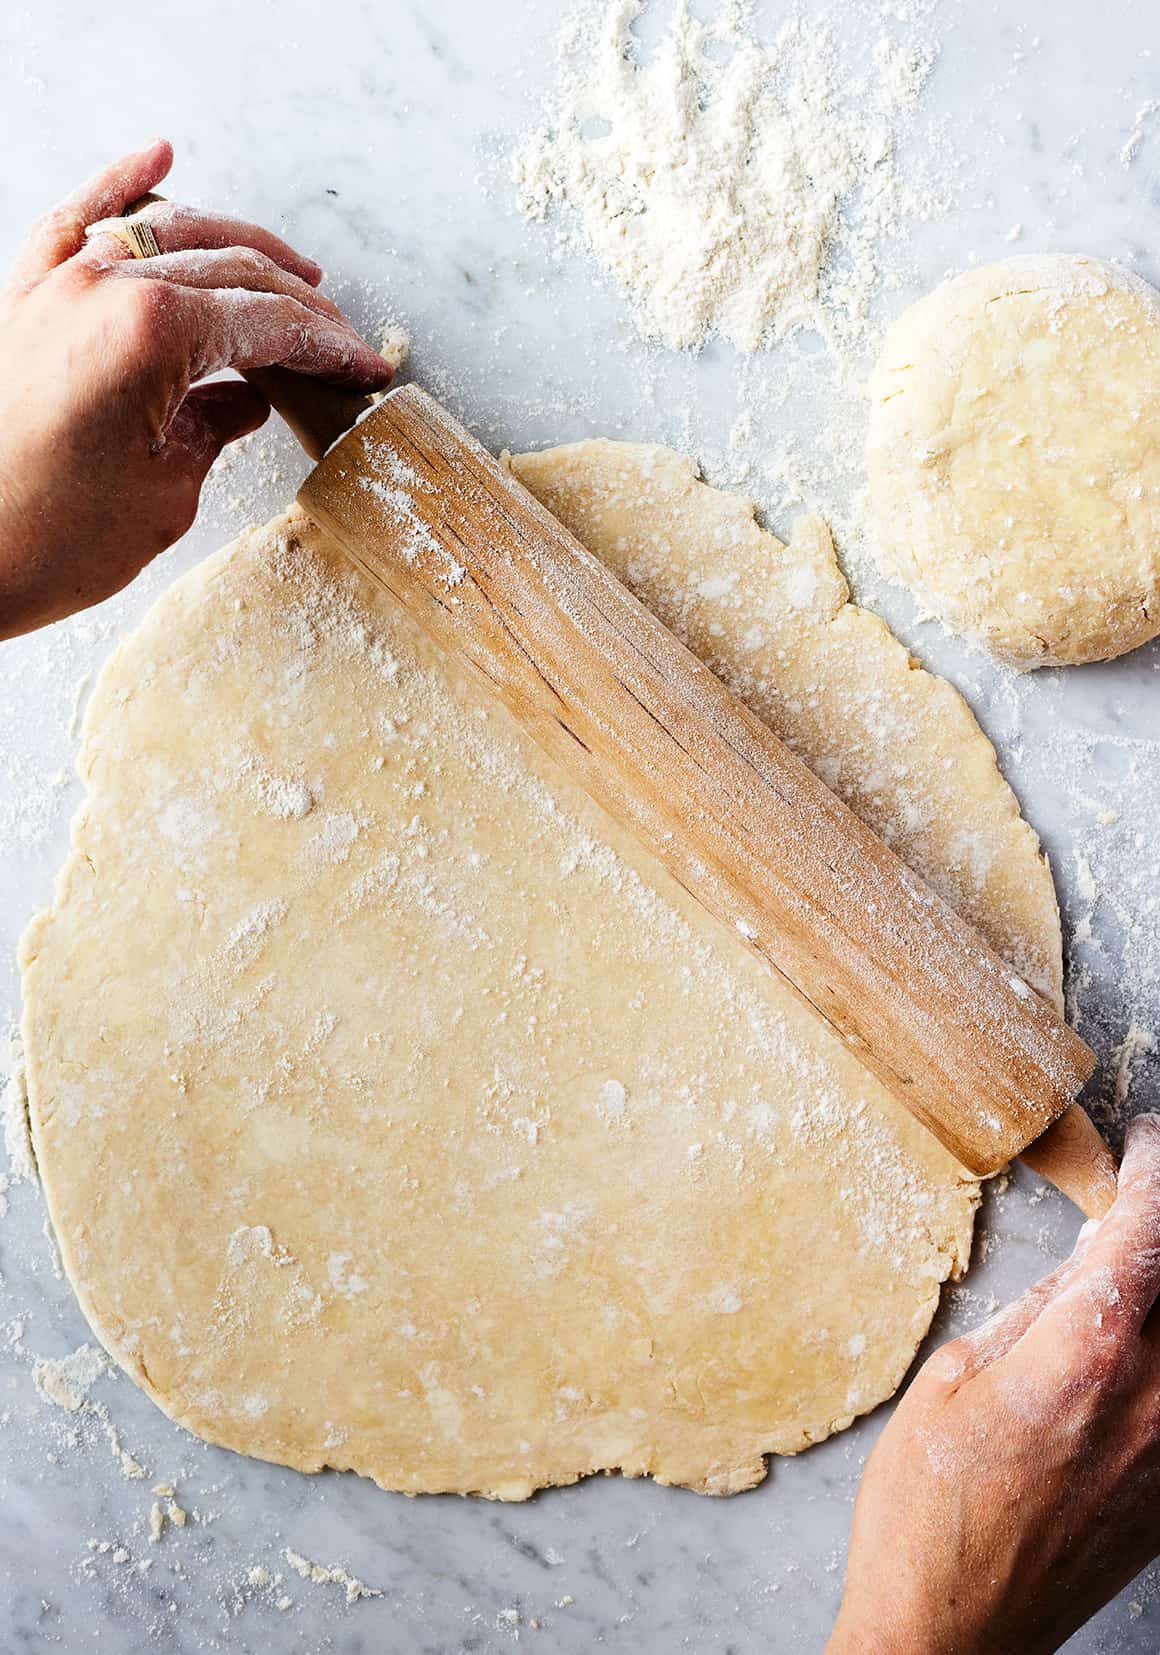
Place a disk of dough on a lightly floured surface. Dust the dough with flour and roll it out into a large 11- to 12-inch circle. It should be 1 inch larger than your pie pan on all sides.
Every few rolls, rotate the dough a quarter turn. This creates an even circle and prevents the dough from sticking to your work surface.
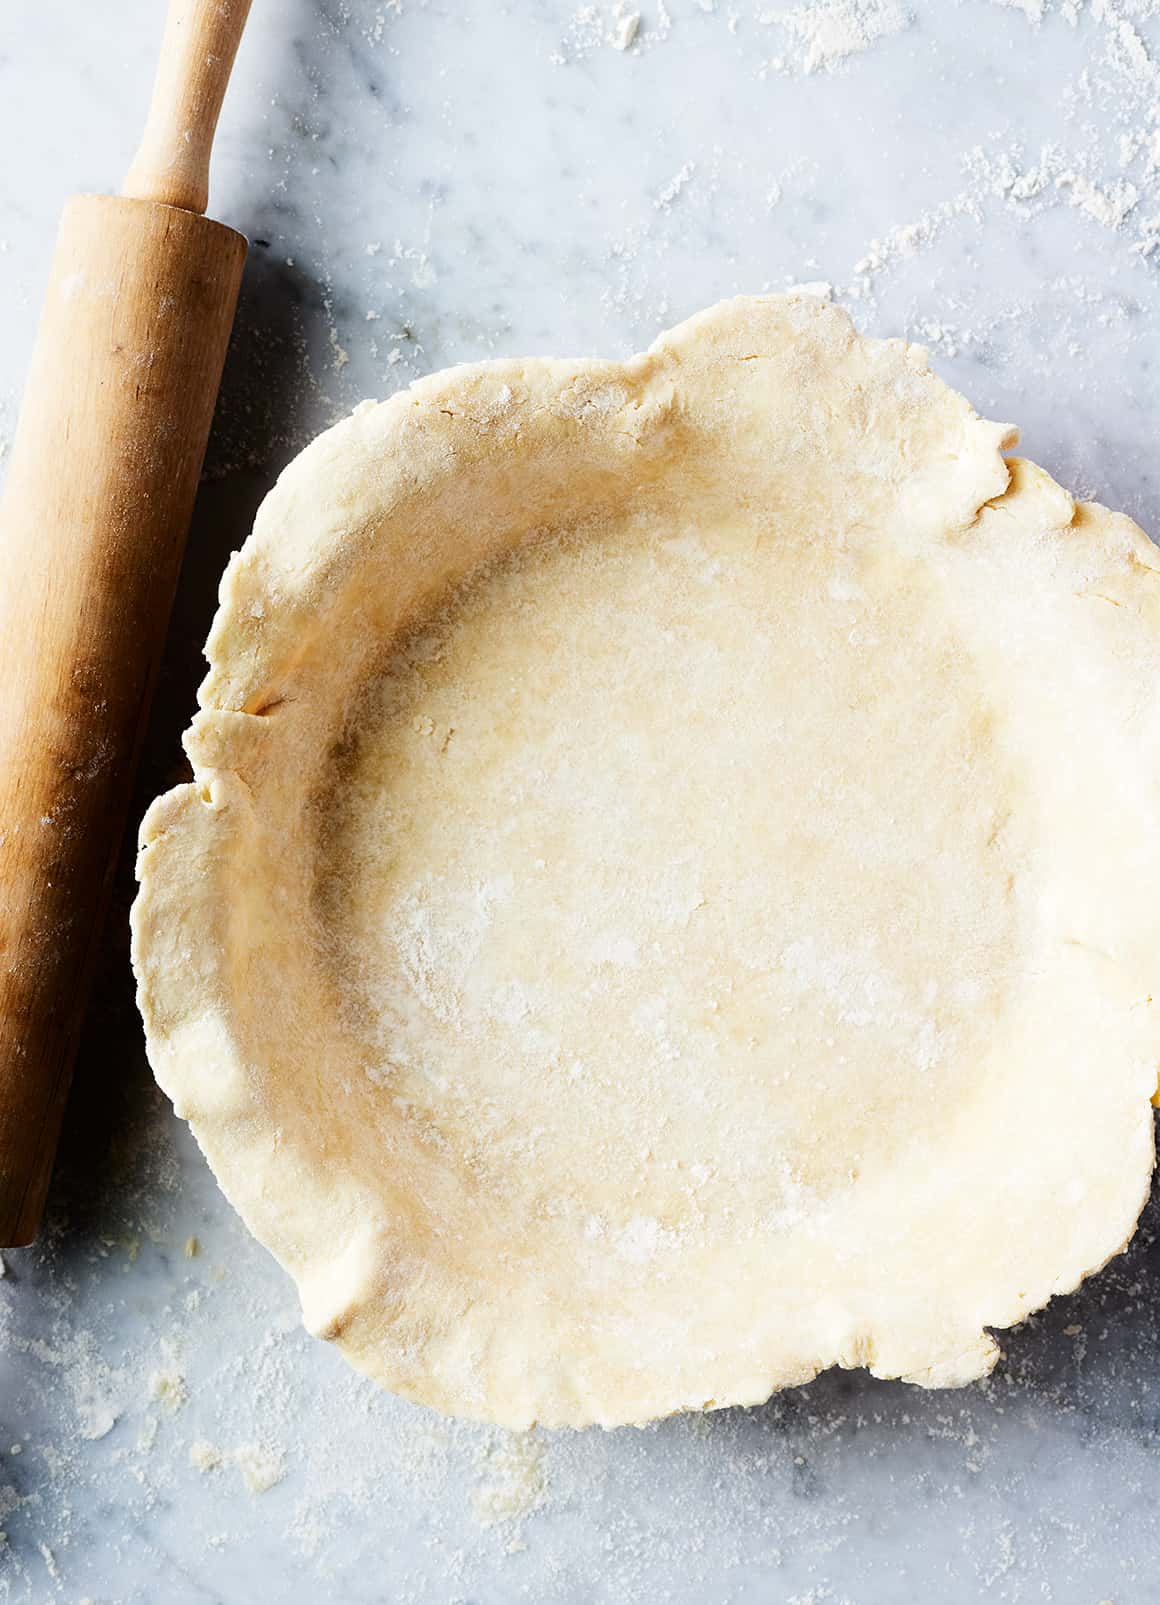
Finally, transfer the dough to your pie dish. Press it firmly into the bottom and up the sides.
If you’re making a single crust pie, use a sharp knife or kitchen scissors to trim any excess dough until you have a 1/2-inch overhang on all sides of the pie plate. Roll the dough under itself so that the edges are in line with rim of the pie plate. Crimp with your fingers or a fork, and follow your pie recipe to bake.
If you’re making a double crust pie, roll out the second disk of pie dough to make the top crust. Assemble and bake according to your desired recipe!
Recipe Tips
- Keep your ingredients cold, especially the butter. Pie crust becomes light and flaky when small pieces of butter in the dough melt in the oven, creating steam. If they melt before baking, when you’re working with the dough, the crust will be tough.
- Don’t skimp on the chilling time. This pie dough needs to chill for at least 2 hours before you roll it out. This gives the flour time to hydrate and the butter time to cool down. If you roll it out too early, it won’t bake into a flaky crust.

Blind Baking Pie Crust
Blind baking simply refers to pre-baking pie crust. You’ll often see it in recipes where the pie filling will cook through faster than the crust, like this quiche. Blind baking prevents the bottom crust from getting soggy. Here’s how to do it:
- Roll out the bottom crust, transfer it to your pie plate, and crimp the edges as desired. Loosely tent with plastic wrap and refrigerate while you preheat the oven to 425°F. Chilling the dough at this stage will help it hold its shape in the oven.
- Fill it with pie weights. When the oven is hot, remove the plastic from the crust and prick the bottom all over with a fork. Line the crust with parchment paper or aluminum foil, and add enough dried beans or pie weights to reach the top of the pie plate. Without the weights, the crust will shrink away from the sides of the pan as it bakes, so make sure to fill the pan all the way.
- Bake the crust with the pie weights for 15 minutes, until the edges are set.
- Bake the crust without the pie weights. Carefully remove the pie weights from the crust. Bake it for another 5 to 8 minutes, or until the bottom of the crust is beginning to set and turn light golden brown.
- Let it cool slightly before filling and baking your pie. That’s it!
Make-Ahead Pie Crust
Tightly wrapped in plastic, this homemade pie crust keeps well in the refrigerator for up to 2 days.
Feel free to make it ahead! If it’s too firm to roll straight from the fridge, let it sit at room temperature for a few minutes to soften.
Can you freeze pie crust?
Yes! Wrap it tightly in plastic and freeze for up to 3 months. Thaw overnight in the fridge before using.

Looking for pie recipes? Use this homemade pie dough to make my cherry pie, apple pie, or spinach quiche!

Easy Pie Crust
Ingredients
- 2⅔ cups all-purpose flour, spooned and leveled
- ¾ teaspoon sea salt
- 20 tablespoons cold unsalted butter, 2½ sticks, cut into ¼-inch pats
- 6 tablespoons ice water
- 1 teaspoon cold apple cider vinegar
Instructions
- In a food processor, place 1⅔ cups of the flour and the salt. Pulse to combine. Spread the butter pats evenly on top of the flour mixture. Pulse until the butter is well combined with the flour and the dough starts to form clumps. There should be no dry flour remaining.
- Spread the mixture evenly in the bowl of the food processor and sprinkle the remaining 1 cup flour on top. Briefly pulse until the dough becomes crumbly.
- Transfer the dough to a large bowl and sprinkle the water and vinegar on top. Use a spatula to fold and press the dough until it comes together into a ball. Divide the ball in half and form each half into a 1-inch-thick disk. Wrap each disk tightly in plastic wrap and chill for at least 2 hours or up to 2 days.
- To roll out the dough: Place 1 disk of the chilled dough on a lightly floured surface. Dust the top with flour and use a rolling pin to roll it out into a large circle about ⅛-inch thick. If you invert your pie plate over the dough, the circle should be 1 inch larger than the edge of the pie plate on all sides. As you work, rotate the dough a quarter turn every few rolls to prevent it from sticking to your work surface. I also like to dust the top of the dough with flour and flip it over a few times during the rolling process.
- To transfer the rolled-out dough to your pie plate, roll the dough over the rolling pin and unroll it over the pie plate. Use your fingers to press it firmly into the bottom and up the sides of the plate. Trim the edges of the dough so that there is a ½-inch overhang on all sides of the pie plate. Loosely cover the dough with plastic wrap and chill while you roll out the top crust.
- Repeat the rolling process with the remaining dough disk, rolling it out into a large, ⅛-inch-thick circle.
- Assemble and bake according to your desired pie recipe.


Yes I have the same problem. Lol
I haven’t made the recipe yet, but need to know how much (in grams) for the butter. I can’t understand how you can measure cold butter in tablespoons? Kind regards
Any suggestions for good gluten free flour? Think it would work?
Hi Renée, I don’t think it’ll be a 1:1 sub – I’d seek out a recipe that was specifically developed to be gluten free.
I have a question…after the dough comes out of the fridge, do you let it sit for a bit so it’s easier to roll out? I’m never able to roll it without the dough breaking/cracking after it comes straight from the fridge!
Hi Monica, yep! Feel free to let it sit for a few minutes at room temp to soften.
fabulous recipe, used it last week for spinach tart and an apple and apple pear mix, did not realize they require different baking times, the crust saved the pie.
Hi Ariel, I’m so glad you loved it!
easy peasy. i use mostly for savory galettes and chicken pot pie, but also works with sweet like apple pie!