Learn how to make hard boiled eggs perfectly every time! With this easy method, they'll be easy to peel and have vibrant yellow yolks.
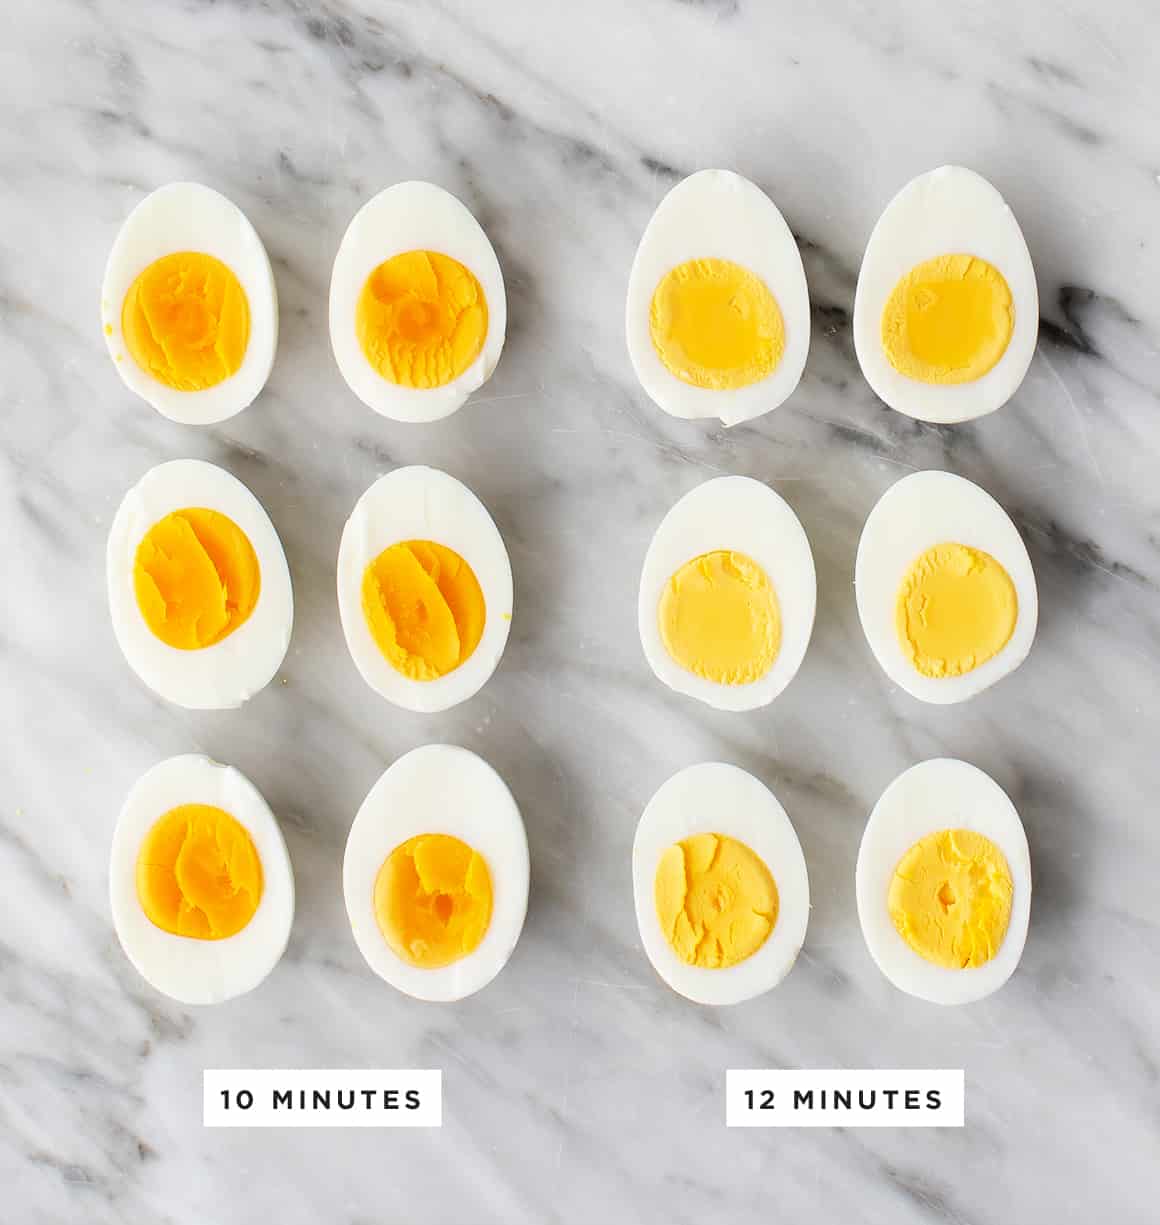
Here’s the good news: perfect hard boiled eggs are easy to make. …And the bad news: so are less-than-perfect ones. I don’t know about you, but I’ve certainly cooked my fair share of the latter. When you try to peel away the shell, half the whites come along with it, or when you cut it open, the yolk is slightly green instead of brilliant yellow. Pretty disappointing, if you ask me.
See, cooking perfect hard boiled eggs is easy, but that doesn’t mean that the process you use doesn’t matter. After years of trial and error, I’m happy to say that this method for how to make hard boiled eggs works every time! The yolks are always sunshine yellow, and the shells slide right off. Whether you’re getting ready for Easter, prepping for Passover, or just on the hunt for a protein-packed snack, this easy hard boiled egg recipe is guaranteed to please.

How to Make Hard Boiled Eggs
Follow these simple steps to make perfect hard boiled eggs every single time:
First, boil the eggs. Place them in a single layer in a pot or saucepan and cover them with cold water by 1 inch. Bring the water to a rolling boil over high heat.
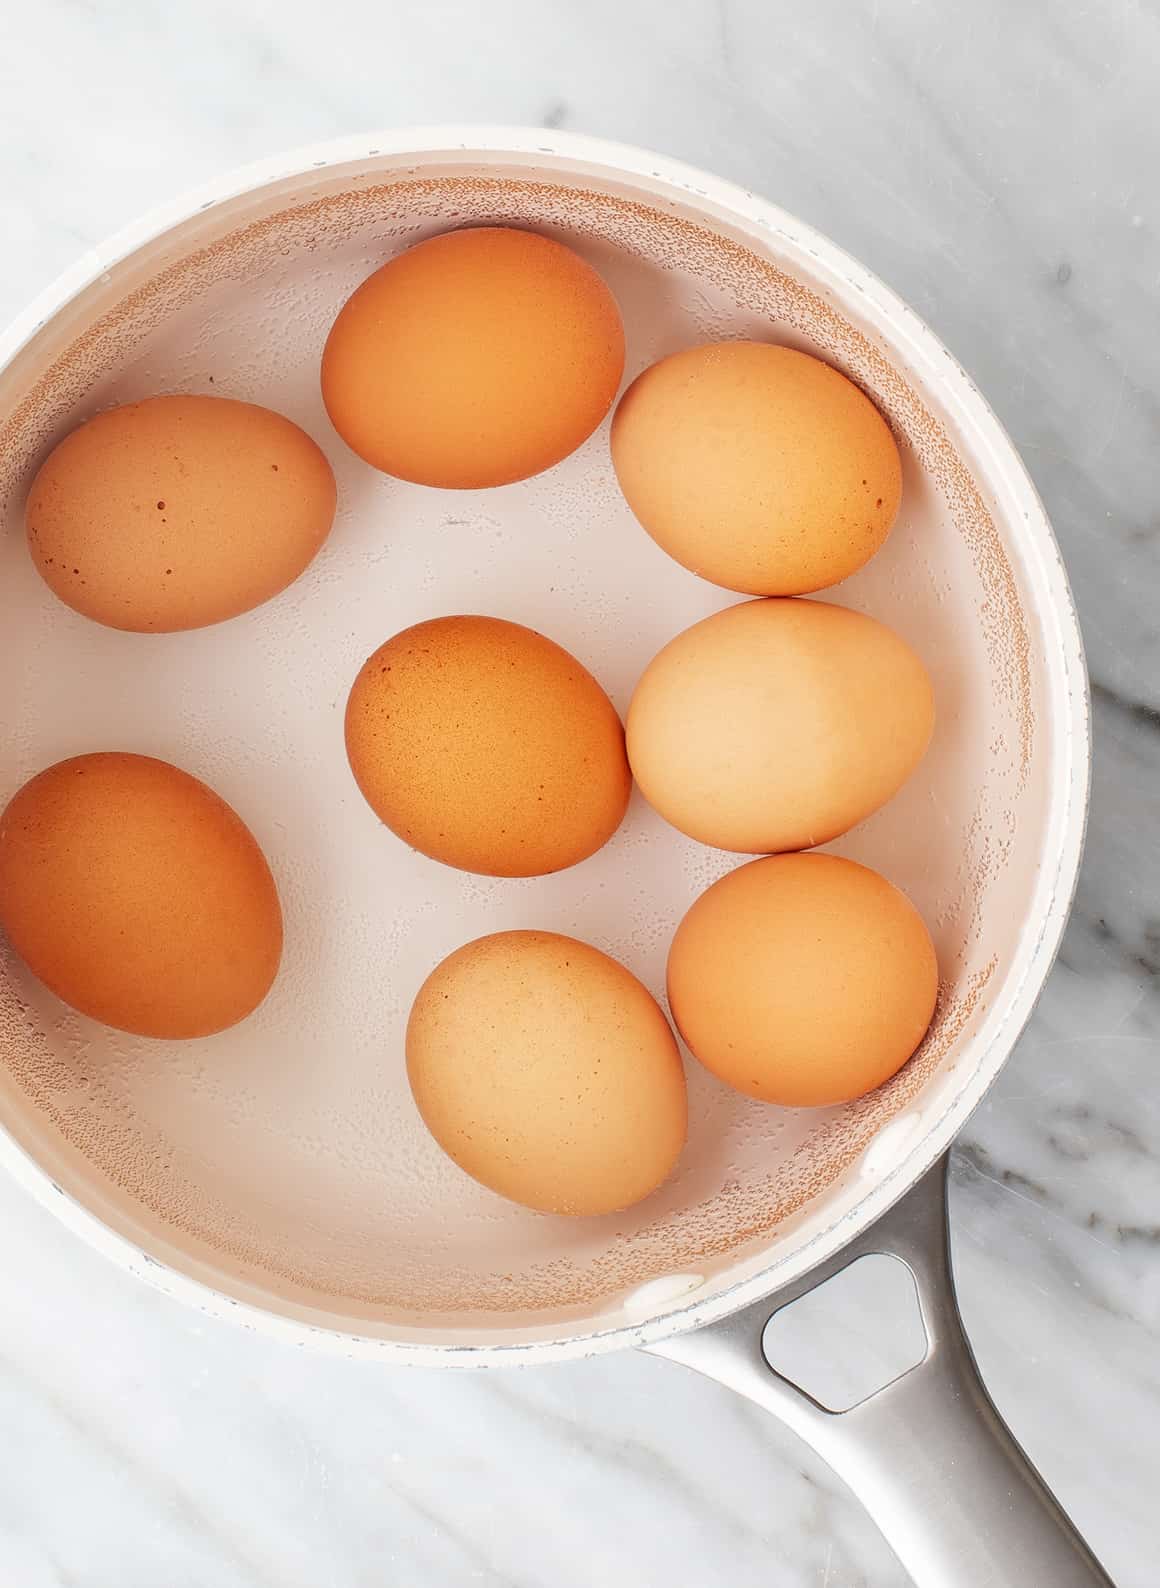
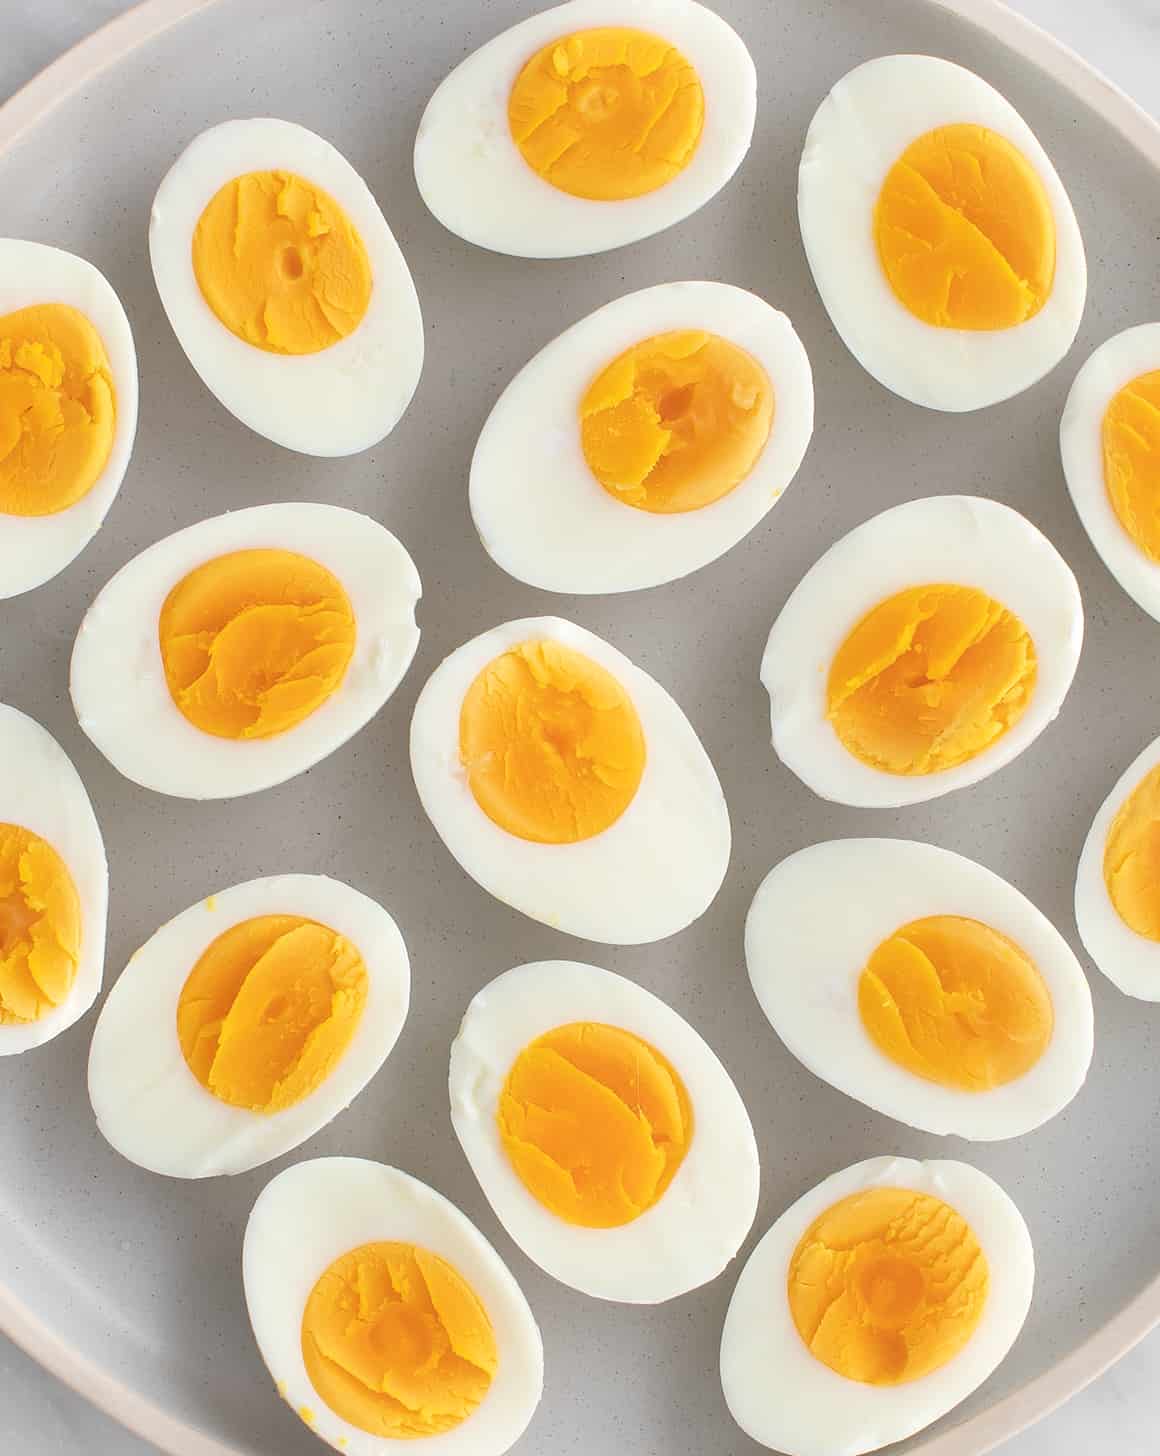
Then, let the eggs sit in the hot water. As soon as the water reaches a rolling boil, turn off the heat and cover the pot. Leave the eggs in the hot water for anywhere from 10-12 minutes, depending on how you like your eggs. The 10-minute eggs will have vibrant, creamy yolks, while the 12-minute yolks will be paler and opaque, with a chalkier texture.

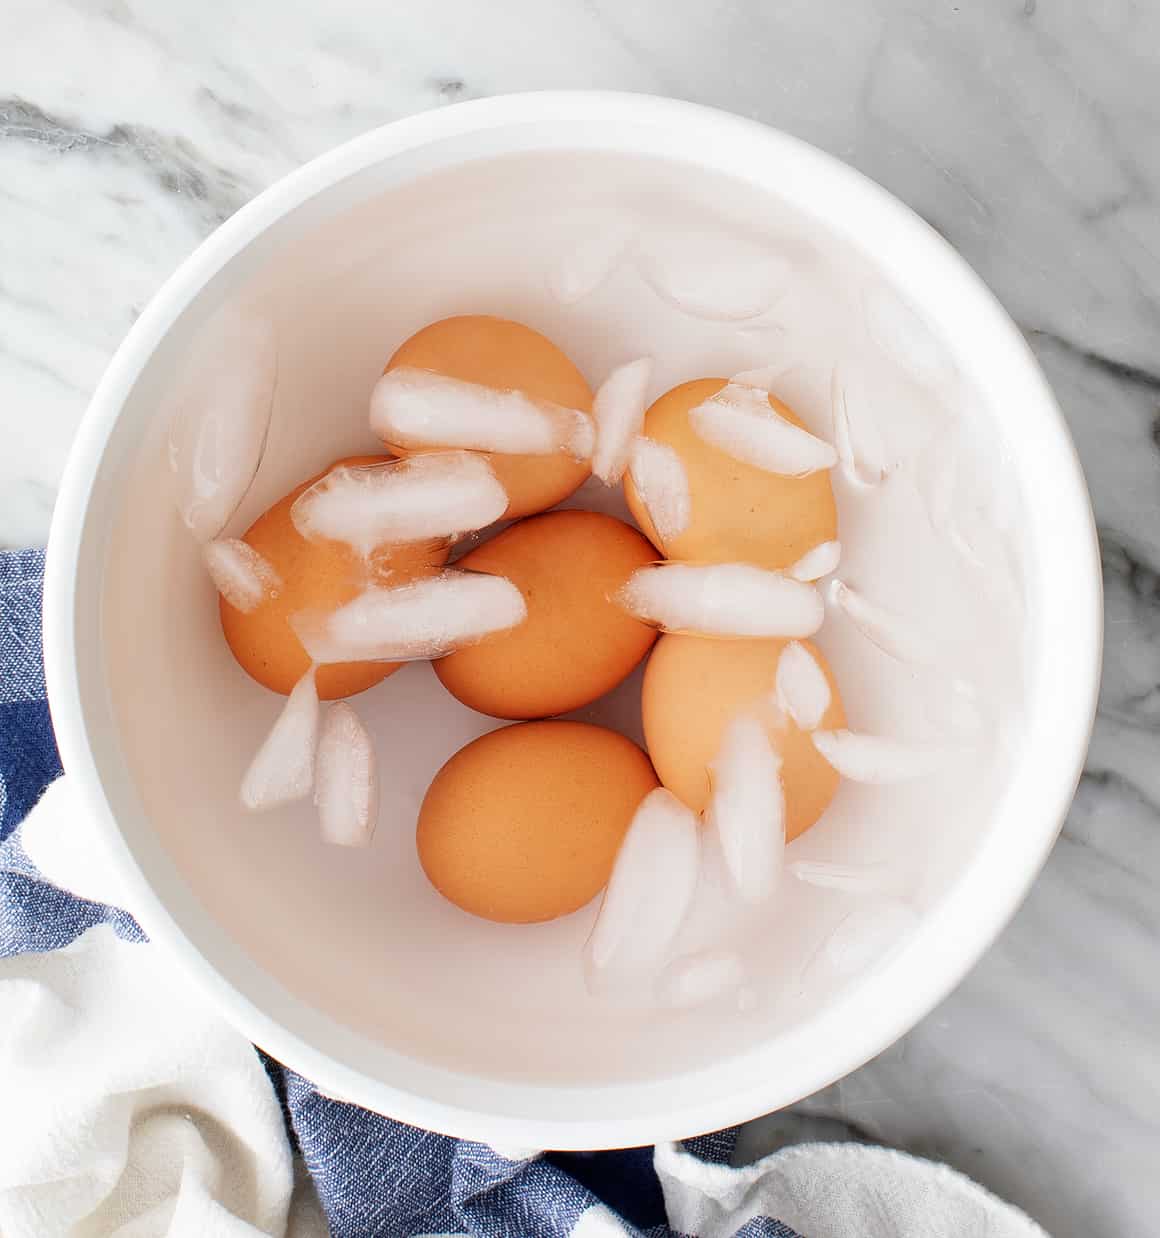
Finally, move them to an ice bath. When the time is up, drain the eggs and transfer them to a large bowl of ice water to stop the cooking process. Leave them in the ice bath for at least 14 minutes before you peel the eggs.
If you’re not planning to eat the eggs right away, feel free to leave them in the shells and store them in the fridge. But even if this is the case, don’t cut the ice bath short! It’s crucial for stopping the cooking process and making the eggs easy to peel later on.
See below for the complete recipe!
Perfect Hard Boiled Eggs Tips
- Buy the eggs in advance. If I’m cooking sunny side up eggs, fresh eggs will yield the best results every time. But if I’m hard boiling them, the opposite is true! Boiled farm-fresh eggs are more difficult to peel than older eggs. If you want to make perfect hard boiled eggs, it pays to buy them in advance and cook them after a few days in the fridge.
- Store the eggs upside down. This tip comes from Jack’s mom, who makes the BEST deviled eggs for family gatherings. In order for the yolks to land right in the center of the hard boiled eggs, she recommends storing the raw eggs upside down before you cook them.
- Don’t skip the ice bath! Overcooked hard boiled eggs have an unappealing greenish ring around the yolks. We want our yolks to come out sunshine-yellow, so transfer the eggs to an ice bath to stop the cooking process as soon as they come out of the pot. This step is also crucial for making hard boiled eggs that are easy to peel. The ice bath helps separate the egg membrane from the shell, so you’ll be able to peel away the shell without ripping off chunks of egg white.
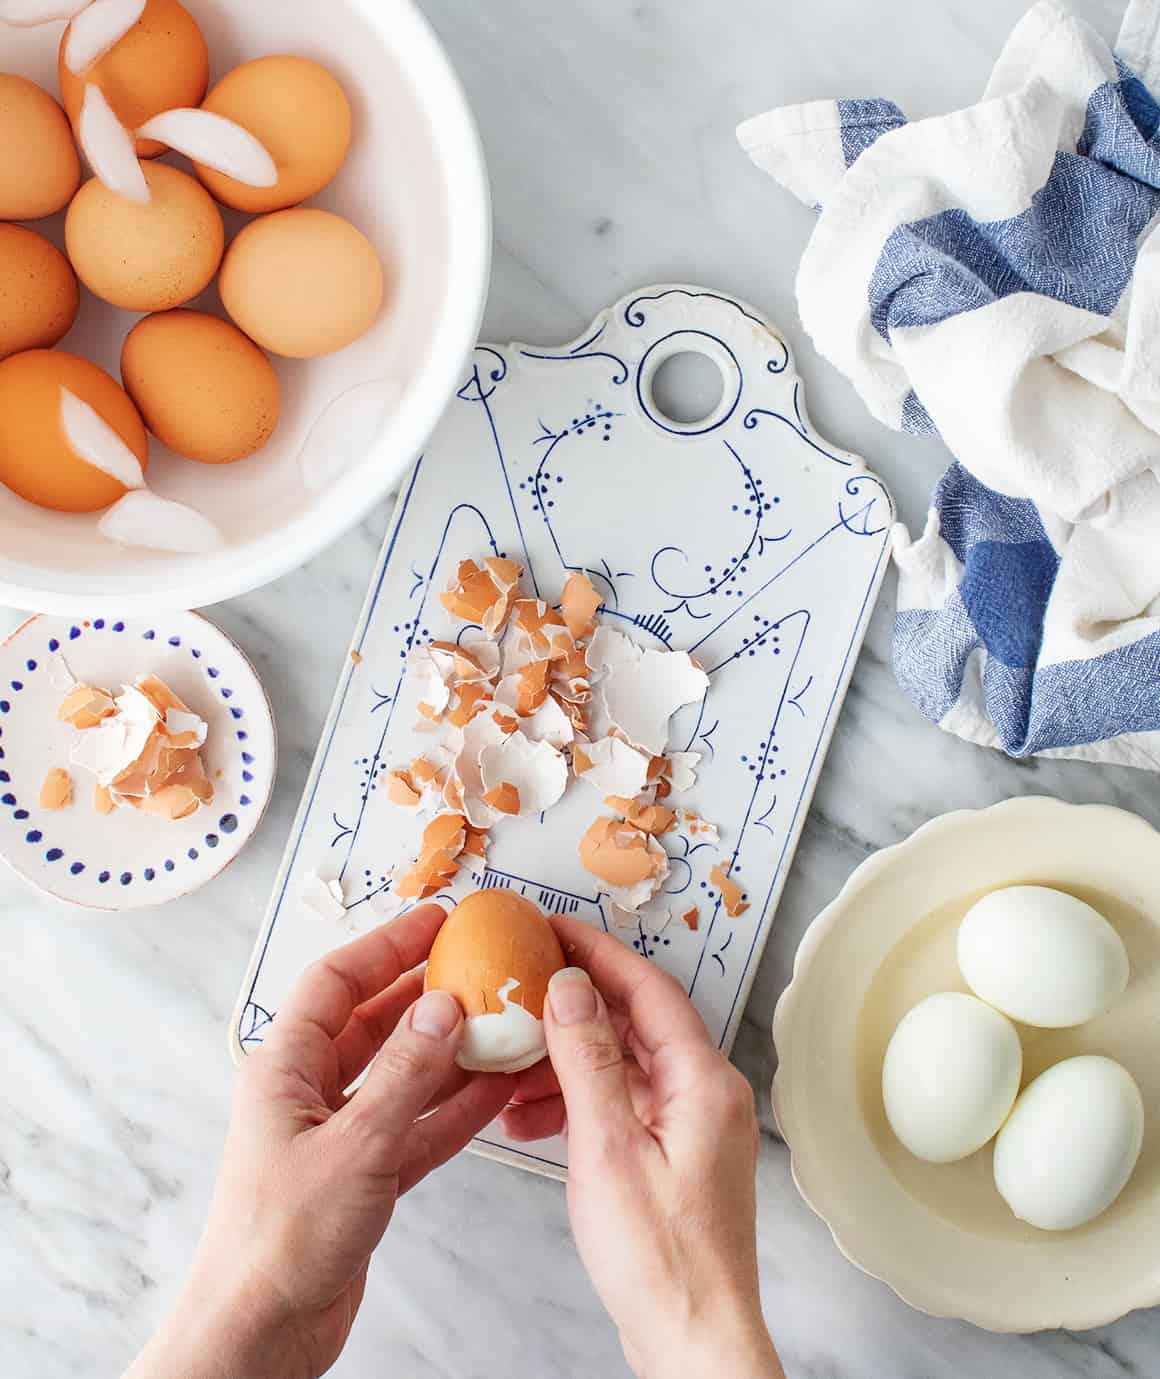
- Peel them carefully. The ice bath should set you up for success here, but that doesn’t mean the shell will all come off in one piece. Gently tap the egg on the counter to break the entire shell into small pieces. Carefully peel it away along the fractures, leaving the egg whites as intact as possible.
Storing and Serving Suggestions
Peeled or unpeeled hard boiled eggs will keep in the refrigerator for up to 5 days. Enjoy them as a protein-packed snack with salt and pepper or Everything Bagel Seasoning, slice them into salads, add them to grain bowls, or top them onto avocado toast. I also love to make hard boiled eggs to turn into deviled eggs, pickled eggs, or egg salad!
How do you like to eat hard boiled eggs? Let me know in the comments!

How to Make Hard Boiled Eggs
Equipment
Ingredients
Instructions
- Place eggs in a medium pot and cover with cold water by 1 inch. Bring to a rolling boil, then cover the pot and turn off the heat. Let the eggs cook, covered, for 9 to 12 minutes, depending on your desired done-ness (see photo).
- Transfer the eggs to a bowl of ice water and chill for 14 minutes. This makes the eggs easier to peel. Peel and enjoy!





My eggs were like a soft boiled egg with loose whites following the instructions exactly. I am not always successful with hard boiled eggs and wanted to take Deviled Eggs to church pot luck. Not sure eggs or higher elevation caused the eggs not to cook. Disappointed to end up with 14 under cooked and unusable eggs.
Hi Jane, I’m sorry that you were disappointed with the results! I do think that the elevation could have been a factor here. Water boils at a lower temp at high elevation, meaning that the water wouldn’t have been as hot when you turned off the heat. In the future, I might let the eggs cook at a gentle boil for 3 minutes before turning off the heat and letting them sit.
This has become my go to method for manufacturing hard boiled eggs. Only thing I do slightly differently is when it’s time for the ice bath I use cold filtered water. family says I’m crazy and should use their method but mine is working.
Hi Amy, so glad this method is working well for you!
Worked great, thanks!
It is the recipe taught in culinary schools. Slight variations in timing for M or XL eggs.
Do you guys do this with room temperature eggs or right out of the fridge?
Thank you, I will try again. Tried yesterday however membrane did not separate after ice bath. I did not time removal but they were cool to the touch also if refrigerated why are they safe for only 3 days. I only eat one per day. Should I cook only 4 at a time?
Tap the end of the egg shell with a spoon before cooking
I’d rather use an egg timer. It’s THE REAL FOOLPROOF! I tried this recipe and 100% it did NOT work!
Not sure what is crazier . . . how simple this recipe is or how so many people with online “recipes” tell you a way that does NOT work . . .well, this way . . . WORKS! Finally, one that works! Thanks!!! No more losing 80% of my egg whites to the egg gods!
Hi Eric, so glad you loved it!
works for me
I think people are doing it wrong. My only guess is you all are adding the eggs after it’s boiling instead at the beginning.
11 minutes is my perfect spot. Make sure it hits a rolling boil before taking off the heat.
Thanks for the tip! I’m making some now – so far so good
Worked beautifully! Thanks so much!!
So glad you loved them, Gerri!
I followed this recipe exactly as written, and the eggs were not at all hard boiled at the end. I think they need to be in the hot water for longer than the recipe instructs.
Hi Morgan, I’m sorry you had trouble with the recipe! Did you bring the water to a full boil before turning off the heat? If it doesn’t reach a high enough temperature, the eggs won’t be fully cooked.
Nope. I’ve always heard 19-20 minutes.
For chalky, green yolks. Sure, 19 minutes.
Perfection every time! Thank you for sharing.
Hi Heidi, so glad you love the recipe!
If you want the easy-peel eggs because you’re using old eggs, you need to drop them into boiling water so that the whites seize up and separate from the thin skin. This method should be using fresh eggs and will give a much softer and smoother white that has a far better mouthfeel, but can make peeling eggs that have been around too long very challenging. I use the spoon release method if my eggs aren’t the freshest and it works well.
Hi K, great tips!
hi! when the water reaches the boil and it says to turn off the heat and cover, do you leave the pot right on the turned off but still warm burner or move to a different area? thanks!
not all the comments loaded last night, I now see you answered this question already! I didn’t leave it on the burner and they turned out alright, but maybe even too yellow. burner next time! thank you!
Are these instructions for a gas stove or regular ceramic? Shall I leave the pot on the hot plate or take it off the heat entirely?
Hi Sandi, you can leave it on the burner. Hope you enjoy!
I use this method everyvtime, thank you!
This one very much works, ten minutes for me and had very soft perfect eggs
I’m so happy your eggs were perfect!
I boiled the eggs exactly as instructed, it didn’t work 🙁
Do you turn off the heat when they just start boiling, or wait for a rolling boil? Thanks!
Hi Angi, I turn off the heat once it hits a rolling boil.
Didnt work tried it twice
I had some eggs that were past the sell by date but still passed the float test. I followed the instructions and cooked for 11 mins then 14 mins in the ice bath. (I did empty and refill the ice bath about halfway through because the ice was melted.) I peeled and ate a test one and it’s the best hard boiled egg I’ve ever made. If people are still having trouble peeling, your eggs might be too fresh like the author said in this post. Thanks for the recipe!
Hi Adrienne, I’m so glad you had great results!
I let the eggs come to a good boil. Covered and let sit for 12 minutes. Then moved to an ice bath for 14 minutes. The first couple eggs were as some other comments described, very hard to peel and coming apart. I then put the eggs in the ice bath in the freezer until ice started to form on the top of the water (about 15 minutes). The next few were much easier to peel. The longer they stayed in the ice bath, the easier they peeled. Bottom line from my experience: keep the eggs in the ice bath for at least 45 minutes.
Great tip! Thanks for sharing.