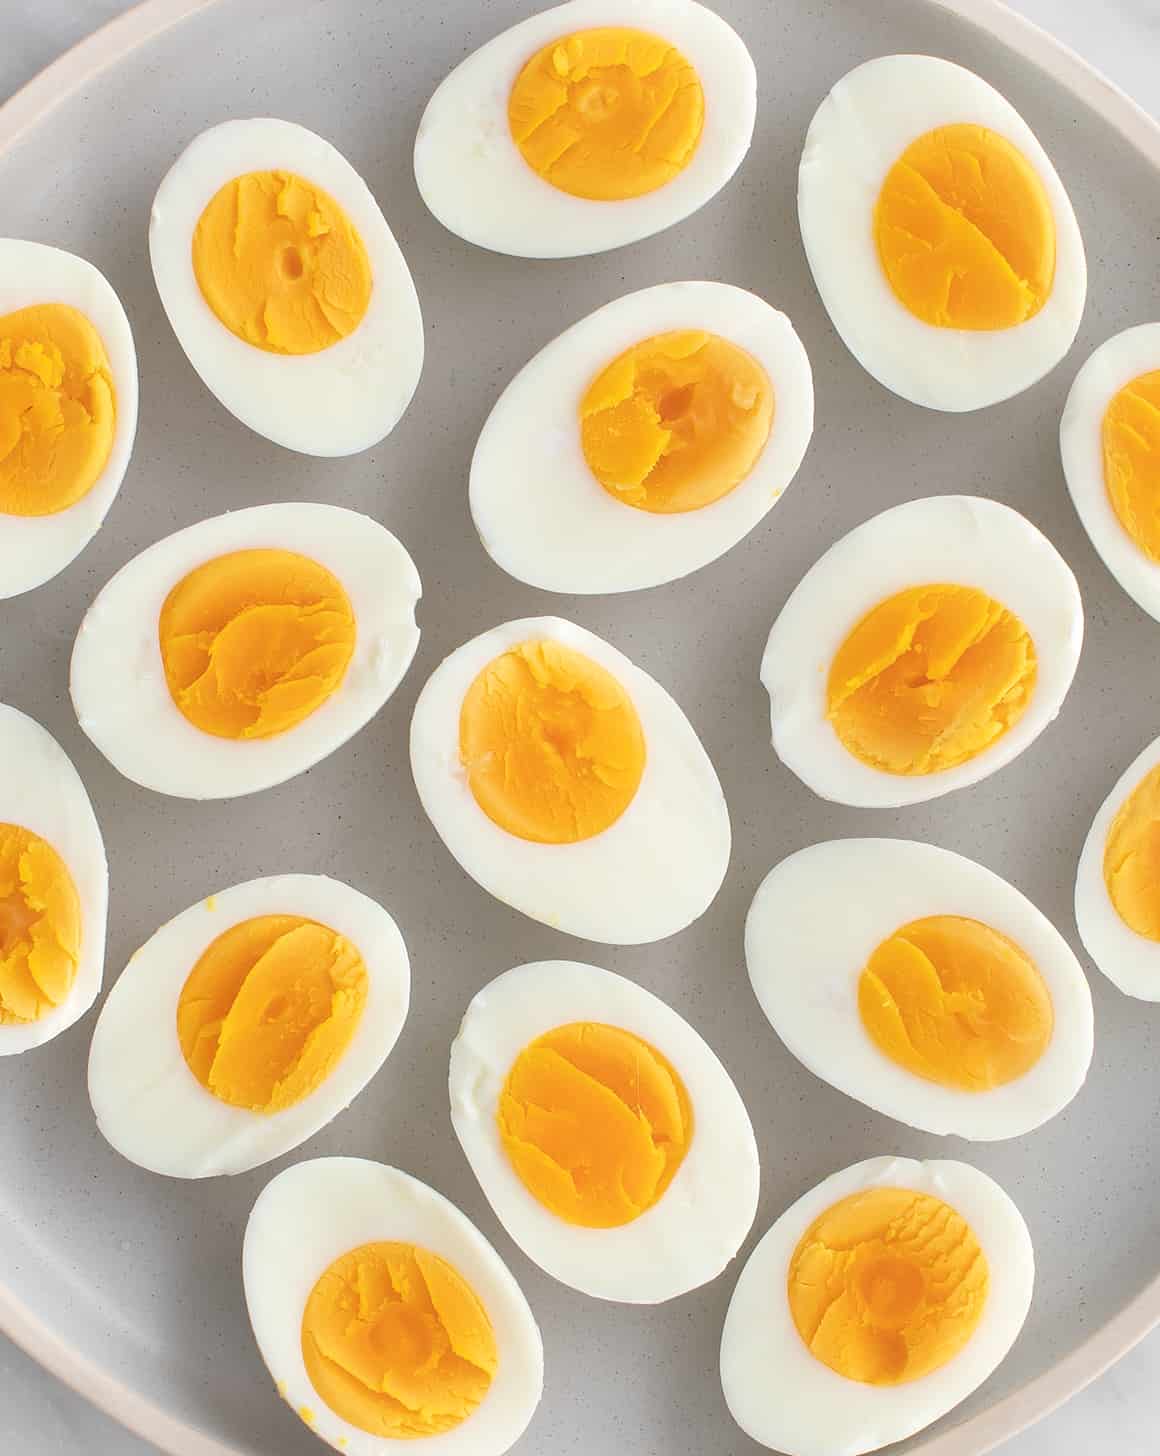
Learn how to make hard boiled eggs perfectly every time! With this easy method, they'll be easy to peel and have vibrant yellow yolks.
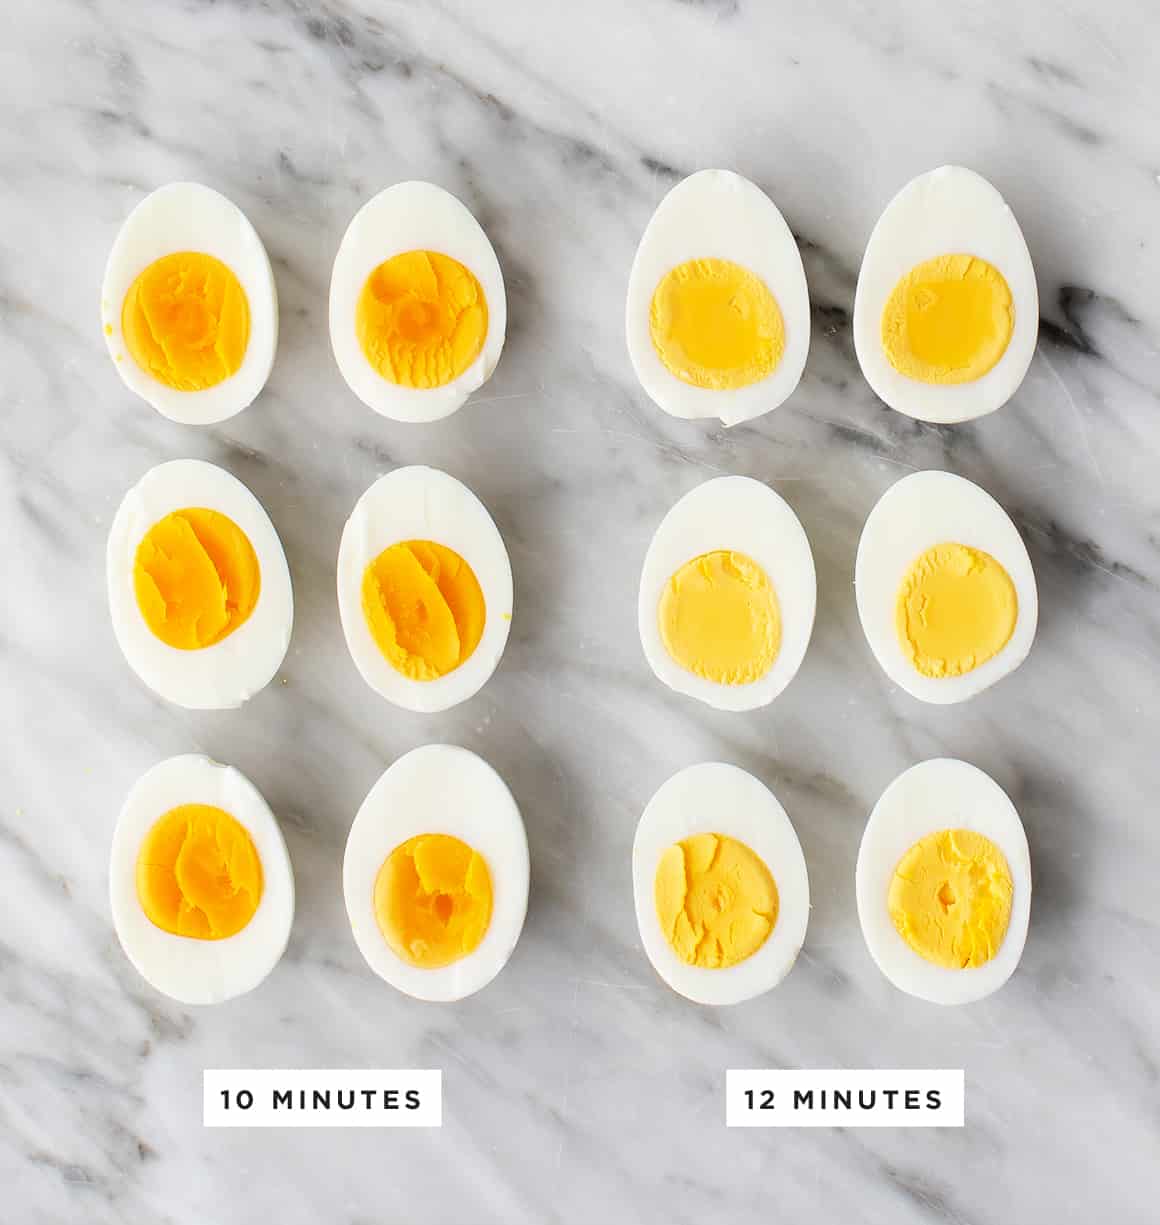
Here’s the good news: perfect hard boiled eggs are easy to make. …And the bad news: so are less-than-perfect ones. I don’t know about you, but I’ve certainly cooked my fair share of the latter. When you try to peel away the shell, half the whites come along with it, or when you cut it open, the yolk is slightly green instead of brilliant yellow. Pretty disappointing, if you ask me.
See, cooking perfect hard boiled eggs is easy, but that doesn’t mean that the process you use doesn’t matter. After years of trial and error, I’m happy to say that this method for how to make hard boiled eggs works every time! The yolks are always sunshine yellow, and the shells slide right off. Whether you’re getting ready for Easter, prepping for Passover, or just on the hunt for a protein-packed snack, this easy hard boiled egg recipe is guaranteed to please.

How to Make Hard Boiled Eggs
Follow these simple steps to make perfect hard boiled eggs every single time:
First, boil the eggs. Place them in a single layer in a pot or saucepan and cover them with cold water by 1 inch. Bring the water to a rolling boil over high heat.
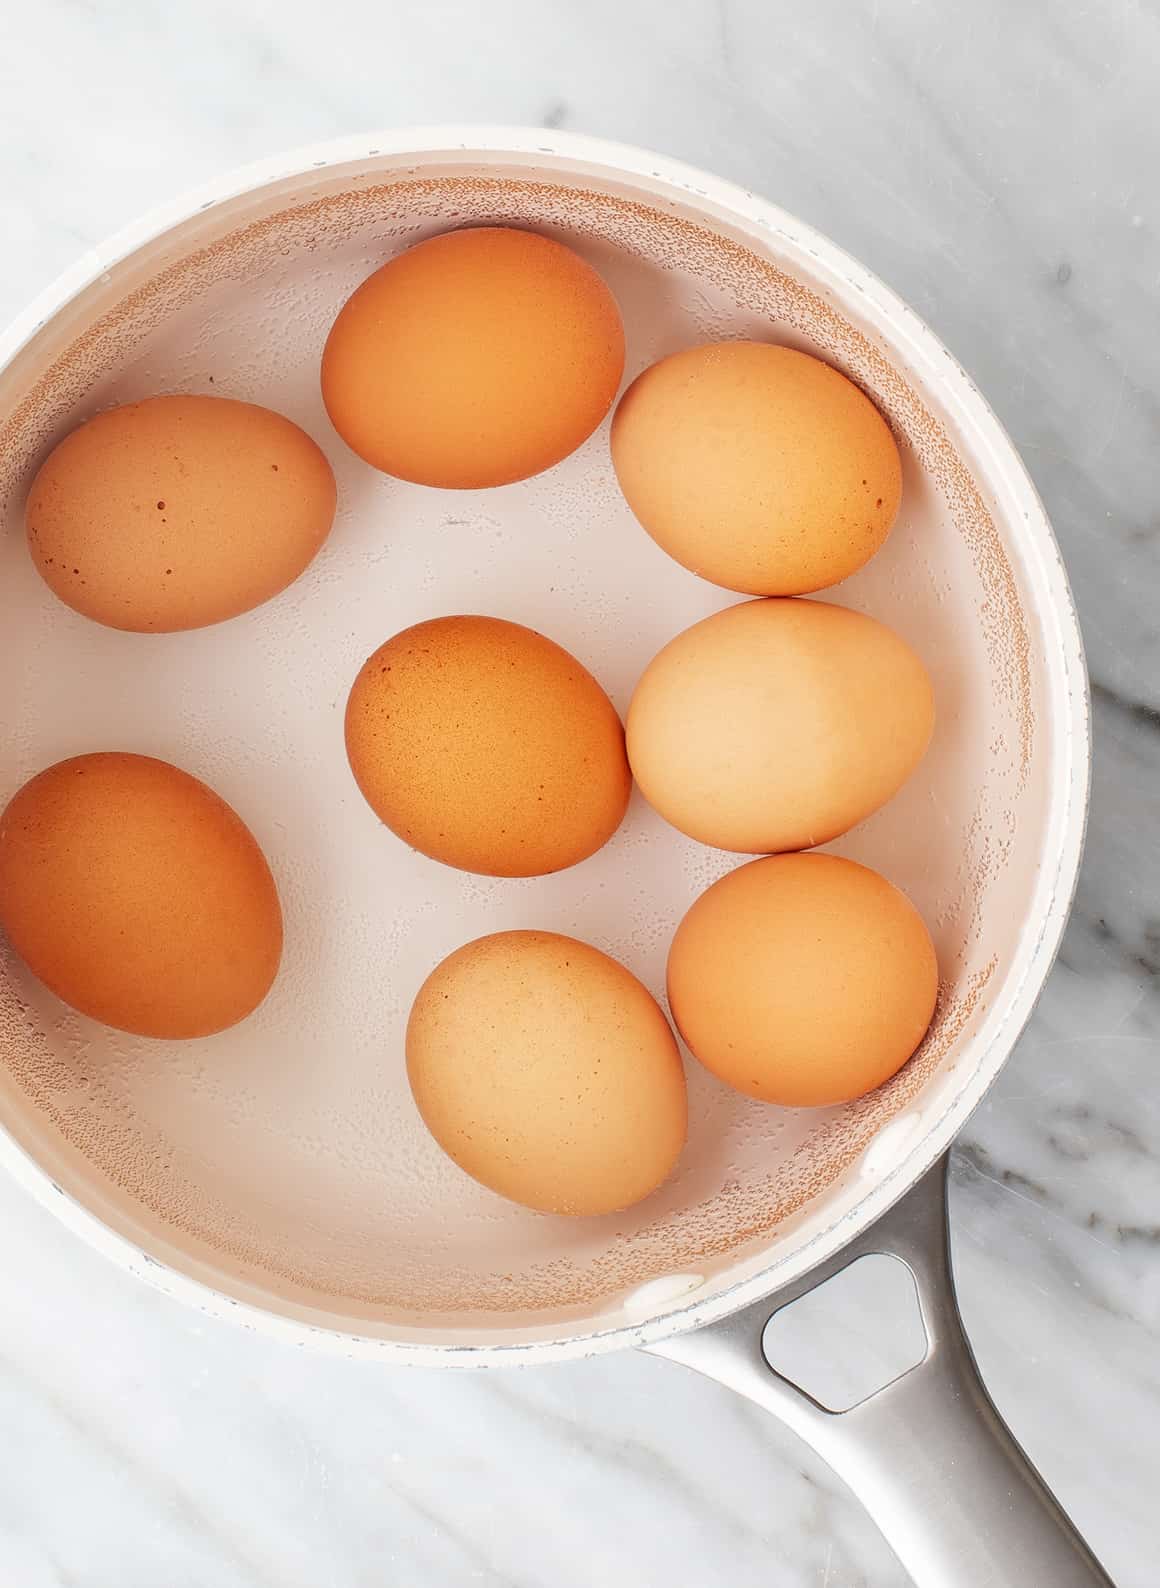
Then, let the eggs sit in the hot water. As soon as the water reaches a rolling boil, turn off the heat and cover the pot. Leave the eggs in the hot water for anywhere from 10-12 minutes, depending on how you like your eggs. The 10-minute eggs will have vibrant, creamy yolks, while the 12-minute yolks will be paler and opaque, with a chalkier texture.

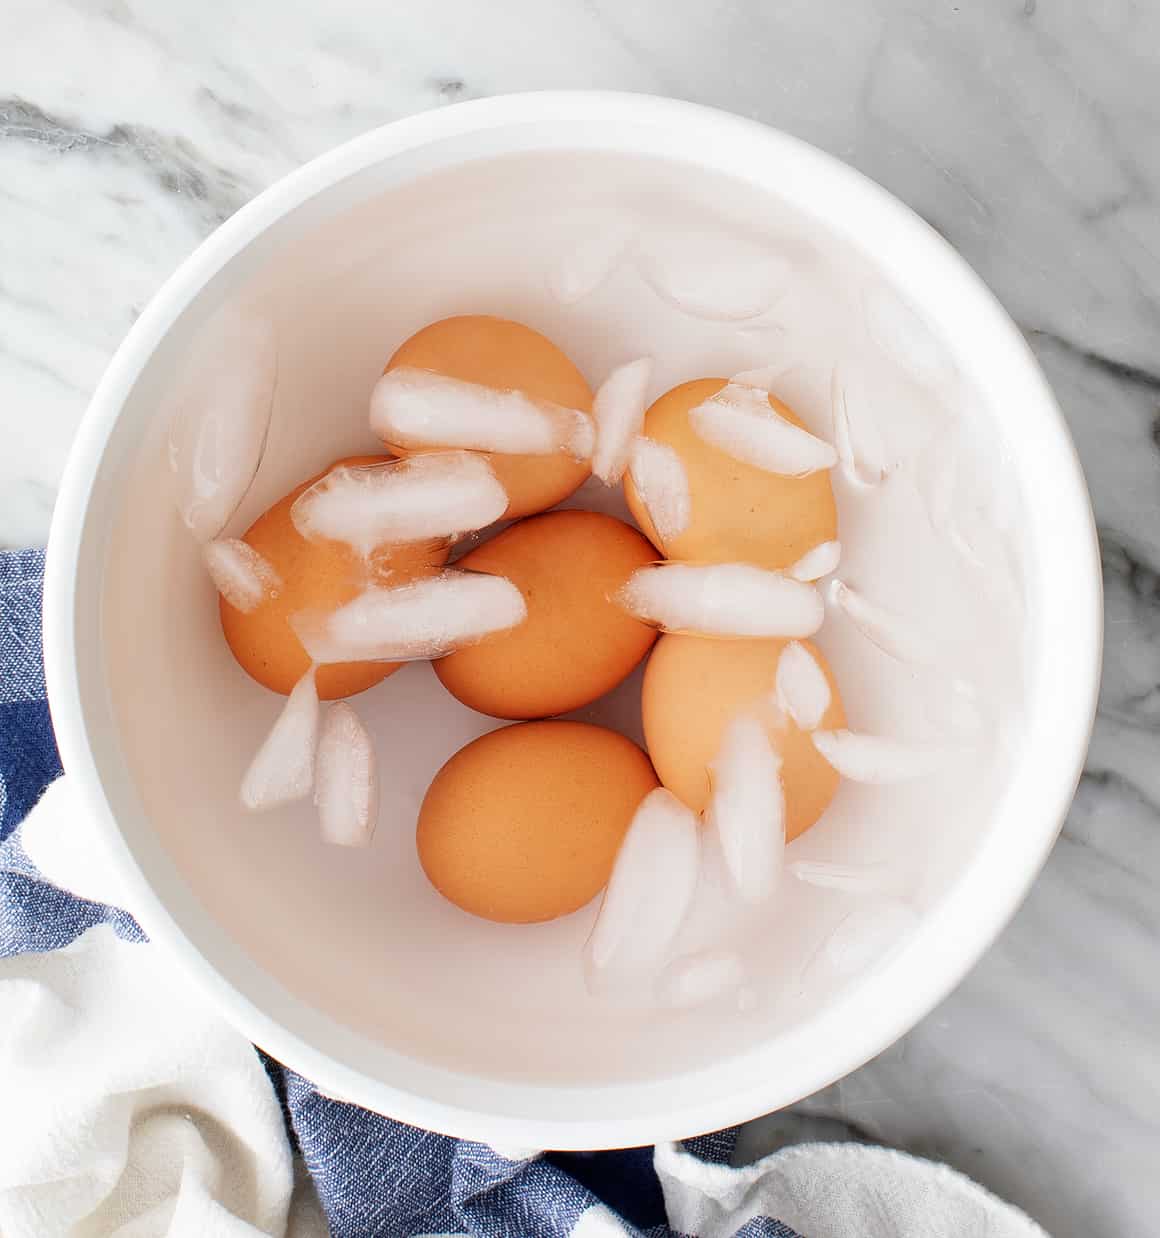
Finally, move them to an ice bath. When the time is up, drain the eggs and transfer them to a large bowl of ice water to stop the cooking process. Leave them in the ice bath for at least 14 minutes before you peel the eggs.
If you’re not planning to eat the eggs right away, feel free to leave them in the shells and store them in the fridge. But even if this is the case, don’t cut the ice bath short! It’s crucial for stopping the cooking process and making the eggs easy to peel later on.
See below for the complete recipe!
Perfect Hard Boiled Eggs Tips
- Buy the eggs in advance. If I’m cooking sunny side up eggs, fresh eggs will yield the best results every time. But if I’m hard boiling them, the opposite is true! Boiled farm-fresh eggs are more difficult to peel than older eggs. If you want to make perfect hard boiled eggs, it pays to buy them in advance and cook them after a few days in the fridge.
- Store the eggs upside down. This tip comes from Jack’s mom, who makes the BEST deviled eggs for family gatherings. In order for the yolks to land right in the center of the hard boiled eggs, she recommends storing the raw eggs upside down before you cook them.
- Don’t skip the ice bath! Overcooked hard boiled eggs have an unappealing greenish ring around the yolks. We want our yolks to come out sunshine-yellow, so transfer the eggs to an ice bath to stop the cooking process as soon as they come out of the pot. This step is also crucial for making hard boiled eggs that are easy to peel. The ice bath helps separate the egg membrane from the shell, so you’ll be able to peel away the shell without ripping off chunks of egg white.
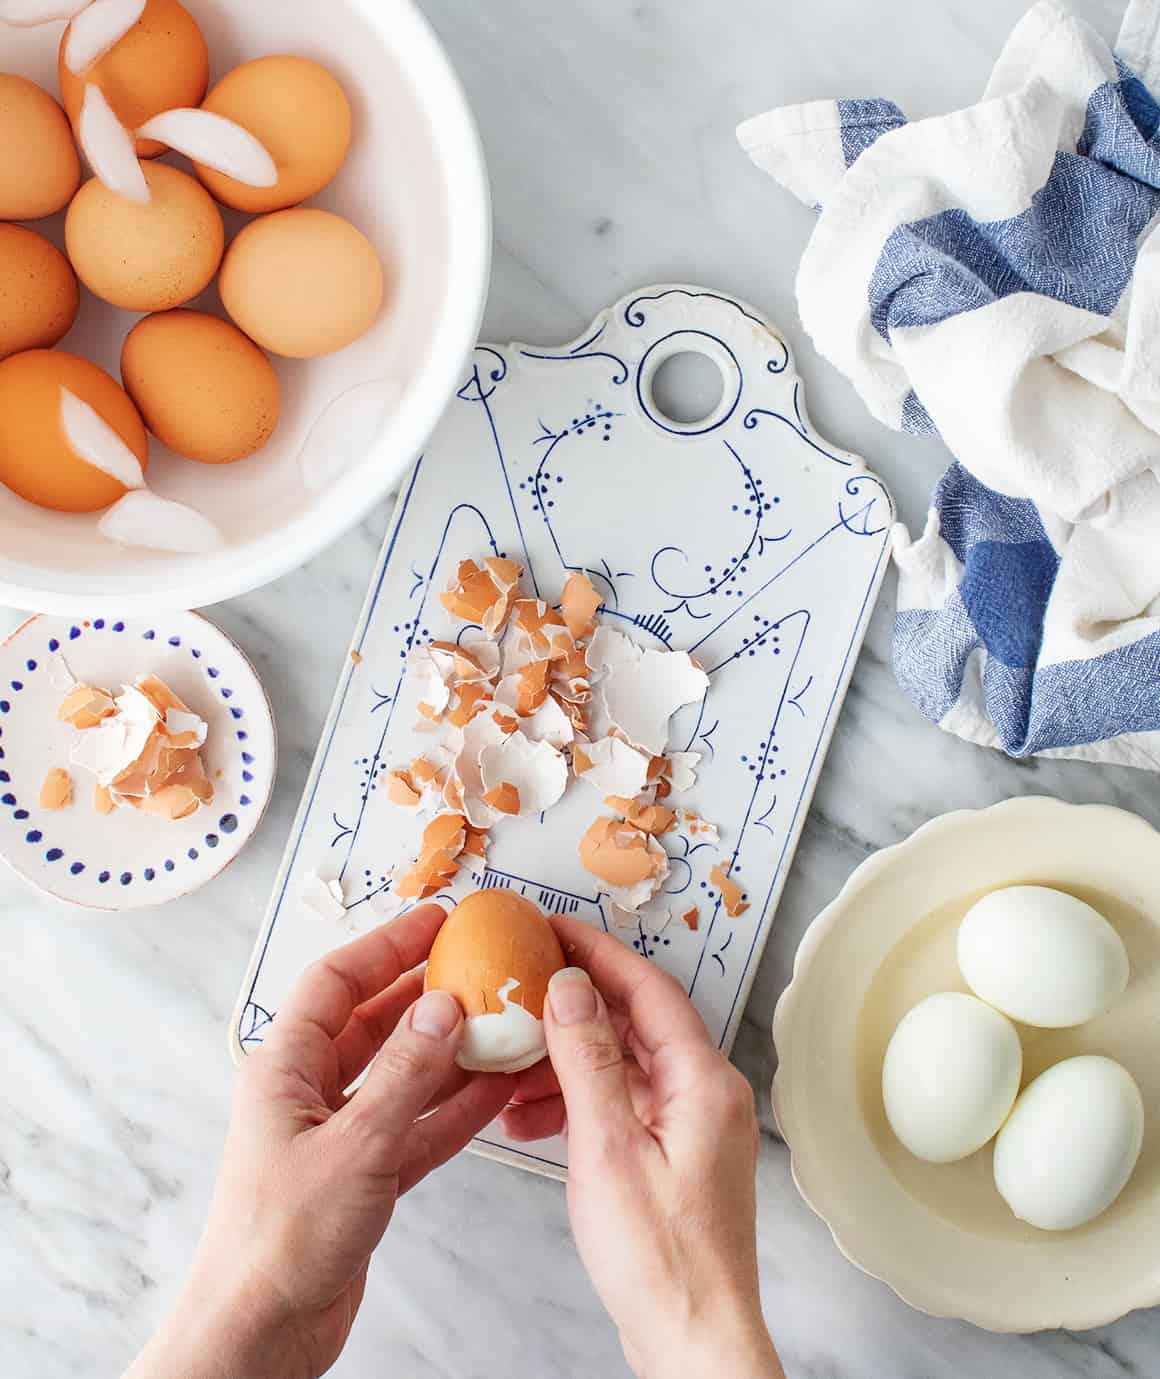
- Peel them carefully. The ice bath should set you up for success here, but that doesn’t mean the shell will all come off in one piece. Gently tap the egg on the counter to break the entire shell into small pieces. Carefully peel it away along the fractures, leaving the egg whites as intact as possible.
Storing and Serving Suggestions
Peeled or unpeeled hard boiled eggs will keep in the refrigerator for up to 5 days. Enjoy them as a protein-packed snack with salt and pepper or Everything Bagel Seasoning, slice them into salads, add them to grain bowls, or top them onto avocado toast. I also love to make hard boiled eggs to turn into deviled eggs, pickled eggs, or egg salad!
How do you like to eat hard boiled eggs? Let me know in the comments!

How to Make Hard Boiled Eggs
Equipment
Ingredients
Instructions
- Place eggs in a medium pot and cover with cold water by 1 inch. Bring to a rolling boil, then cover the pot and turn off the heat. Let the eggs cook, covered, for 9 to 12 minutes, depending on your desired done-ness (see photo).
- Transfer the eggs to a bowl of ice water and chill for 14 minutes. This makes the eggs easier to peel. Peel and enjoy!





“Great post! I really appreciate the valuable insights you shared about HVAC maintenance. It’s amazing how regular upkeep can make such a huge difference in energy efficiency and extend the lifespan of the system. Your tips on cleaning filters and scheduling routine inspections are super helpful, especially for homeowners like me who want to avoid costly repairs down the road. Looking forward to reading more of your expert advice. Keep up the great work!”
Top Rank was established in 2003. Top Rank Heating & Air Conditioning, Inc. is a family owned and operated organization based in Northern California. Top Ranks Principals have been in the industry combined for over 40 years. We specialize in HVAC maintenance, repairs, replacement, and new residential and light commercial construction.
Thank God I found your receipts side, you are an awesome person and cook too and all your family beautiful people the kids ❤️ are so cute 😍. I’m sure they enjoy MOM yummy food. I was born in Romania, living in Midwest, we love it but missing those ethnic stores , restaurants from Chicago. Thanks for your receipts .
The recipe worked perfectly for me. I did remove the pot from the heat after it came to a rolling boil. And for decades, I’ve been HARD cooking my eggs to the extreme- I never considered creamier yokes, and I LOVE IT! 10 minutes for me from now on! Also, a tip for peeling that I can’t remember where I saw it, so I can’t give credit, but…in addition to peeling under a light stream of cold water- after you tap it on the counter, find the air pocket and slide a teaspoon just under the shell there. Use the spoon to separate the shell from the egg. AMAZING. It’s so much easier. I
can’t believe I never knew that trick until recently- you can teach an old lady new tricks!! Lol!
I followed this to the T and went with 10 minute cooking time, followed by 14 minute ice bath. I can say these were some of the best boiled eggs I had. The peeling was hit and miss, but with some running water, it made it pretty easy. The whites and yolk weren’t as hard and that made all the difference. I will definitely try some other cooking times to see what I like more.
Hi Kevin, I’m so glad you enjoyed them!
I guess this doesn’t work every time, because my eggs were severely undercooked AND extremely difficult to peel. Epic fail.
So, are the eggs at room temperature or straight out of the fridge when you put them in the cold water?
Thanks
PERFECT eggs!!!! ❤️
Now I am “the only one who makes them right.”
This method is TRASH I literally followed the directions to a T and every single egg came out awful some of them i couldnt even use…i tried this method 3 times …3 different types of eggs…same outcome!!
I’m sorry this didn’t work for you.
Try to find the membrane when you start to peel the egg – then it should be easy to pull the shell off – also I dont let the egg sit that long in the ice- 5 minutes and peel under running water in the sink
You did it wrong. 100%
Another tip that really works….for peeling off the shell…. When you are ready to remove the shell, do so under lightly running cold water. As some of the shell is removed, continue to let the cold water run around the cooked egg…under the rest of the shell, as you continue to peel.
I do this as well! Great tip.
we make curry creamed eggs served in toast cups with our boiled eggs, mmMMM!
PERFECT!!! So easy and so delicious. Didn’t know a hard boiled egg could taste so good. Solid but fluffy!
Your cooking instructions if followed properly will yield perfectly cooked hard boiled eggs that are easy to peel.
I like to have my eggs with either Cholula hot sauce or any other available hot sauce.
After reading some of the previous posters comments I began to wonder if they followed the instructions.
Thank you for sharing!
I have tried this recipe twice. Followed the directions precisely. Both times the shell stuck so tightly to the egg that much of the egg white was lost to the shell. I do not recommend this method
Hello, you need to leave the eggs outside for three days before cooking them, very fresh eggs don’t peel well. If your eggs came from a refrigerator, you shouldn’t leave them outside though, so just add a bit of vinegar to the water, and it would help you.
O.M.G. a perfectly simple recipe and beautiful eggs. I have tried other directions but this one wins!
Hi Nancy, so glad you loved the recipe!
Hi Kin, yes, boiled eggs do have a sulfurous smell.
Easy recipe, no fail, everytime. Thank you!
So glad you love it, Amy!
That’s the method I was taught to use by my mother and grandmother and many times it produced mixed results.
I now use another method that works beautifully and it works with very fresh eggs as well as slightly older ones:
You better ng the water to a boil FIRST then carefully (I use a spoon) put the eggs in. I don’t particularly care for a soft center so for a large egg I cook them for maybe 8 minutes on a medium heat so the eggs don’t bump into each other. I let them sit in the hot water for maybe an extra 2 minutes before pouring the hot water off. I put a full tray of ice cubes into the kettle with enough cold tap water to cover them for another 10 minutes or so .
When I want to peel them, I do it under a running tap after gently cracking the shell. The shell, literally, slides off and I end up with a still very warm, perfectly boiled egg! And you can do this with very fresh eggs without the usual fuss of the egg whites sticking to the shell. You are right, the icy water trick seems to be the thing to remember.
Been placing my hard boiled eggs in a jar of jalapeno slices for a few days and man they make delicious hot n spicy pickled eggs
I don’t remember eggs so hard to peel when I was a kid 8n the 60s. All we did was use a spoon to lower them into boiling water from 3-5 minutes and remove. No waiting, no ice bath, just breakfast. Now it seems no matter which method I use they stick
Are you using gas or glass top stove top? If I turn off the heat on my glass top but leave the pot on the burner, there will still be a significant amount of heat. With gas, the heat is gone once the flame is off. Please advise.
Hi, I’ve used this method on gas and glass top stoves, leaving the pot on the burner. I’ve had great results with both stove types!
The instructions indicate to remove the pot from the heat.
Put the hard boiled egg in a jar or glass.. Fill the jar or glass with water to a depth of two horizontal fingers, approximately. Cover the top and shake until you see the shell crack and begin to separate. Pour the egg out and the shell will slip off like a glove.
This works! I bought a little gadget called a Negg, and it is basically this and it works like a charm. Peeling eggs is the bane of my existence! 🙂 I will try the timing on this method though, everyone’s is different!
Yes! This helps a lot! I also will peel under some cold running water after the “glass” trick.