

Learn how to make pasta at home! This 4-ingredient homemade pasta recipe is easy to make, and it yields chewy, delicious noodles every time.

This homemade pasta recipe is our new favorite cooking project! Lately, Jack and I have been spending even more time than usual in the kitchen, experimenting with bread, baked goods, and even okonomiyaki. But we keep coming back to homemade pasta. It’s super fun to make together, and it only requires a handful of basic ingredients. Of course, the fact that it’s absolutely delicious doesn’t hurt either. 🙂
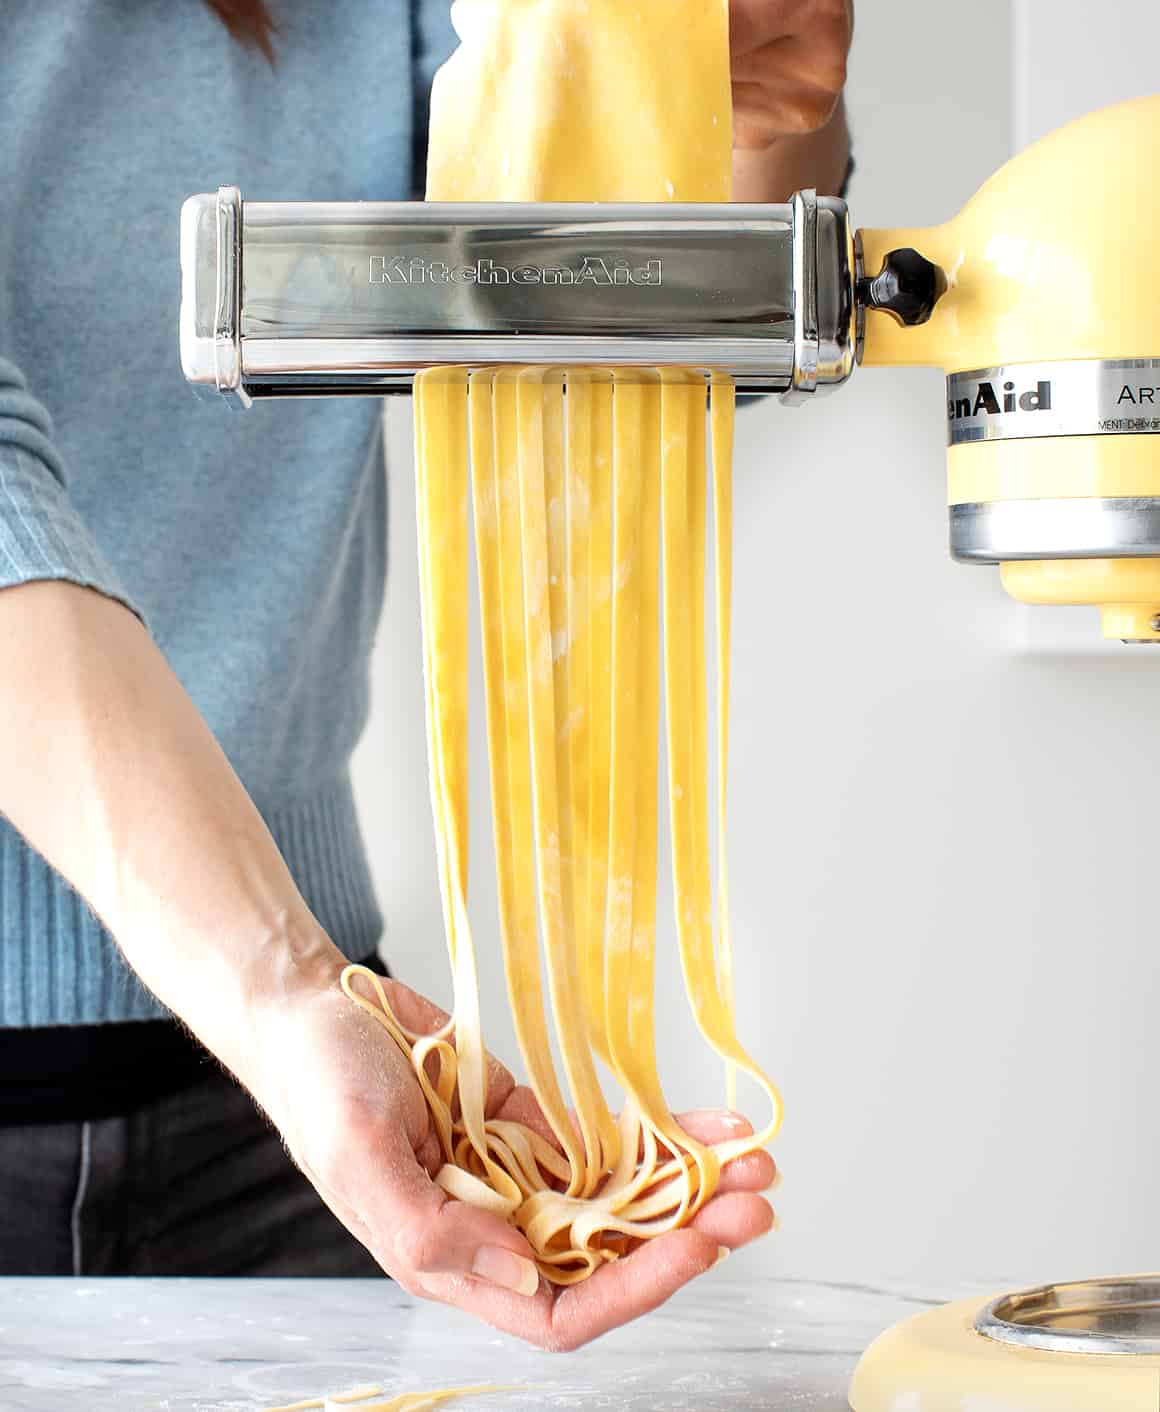
My homemade pasta recipe refers to the pasta maker attachment for the KitchenAid Stand Mixer, which is how we roll out our fresh pasta at home. If you don’t have a KitchenAid, don’t worry! You could also roll out this pasta dough according to the instructions on a regular pasta maker. However you make it, I hope you try this recipe. It’s an easy, fun way to spend an hour in the kitchen with someone you love, and at the end, you get to eat a big plate of chewy noodles with a perfect al dente bite.

Homemade Pasta Recipe Ingredients
You only need 4 ingredients to make delicious fresh pasta at home, and there’s a good chance you have all of them on hand already:
- All-purpose flour – In the past, I thought you needed 00 flour or semolina flour to make great fresh pasta, but this homemade pasta recipe proved me wrong. In it, regular all-purpose flour yields chewy, bouncy noodles every time.
- Eggs – The key ingredient for adding richness and moisture to the dough!
- Olive oil – Along with the eggs, a splash of olive oil moistens the dough and helps it come together.
- Salt – Add it to the dough and the pasta water for the best flavor.
Find the complete recipe with measurements below.

How to Make Pasta
Ready to learn how to make pasta? Check out this step-by-step guide first, and then find the full recipe at the bottom of this post!
First, make a nest with the flour on a clean work surface. Add the remaining ingredients to the center and use a fork to gently break up the eggs. Try to keep the flour walls intact as best as you can!

Next, use your hands to gently mix in the flour. Continue working the dough to bring it together into a shaggy ball.
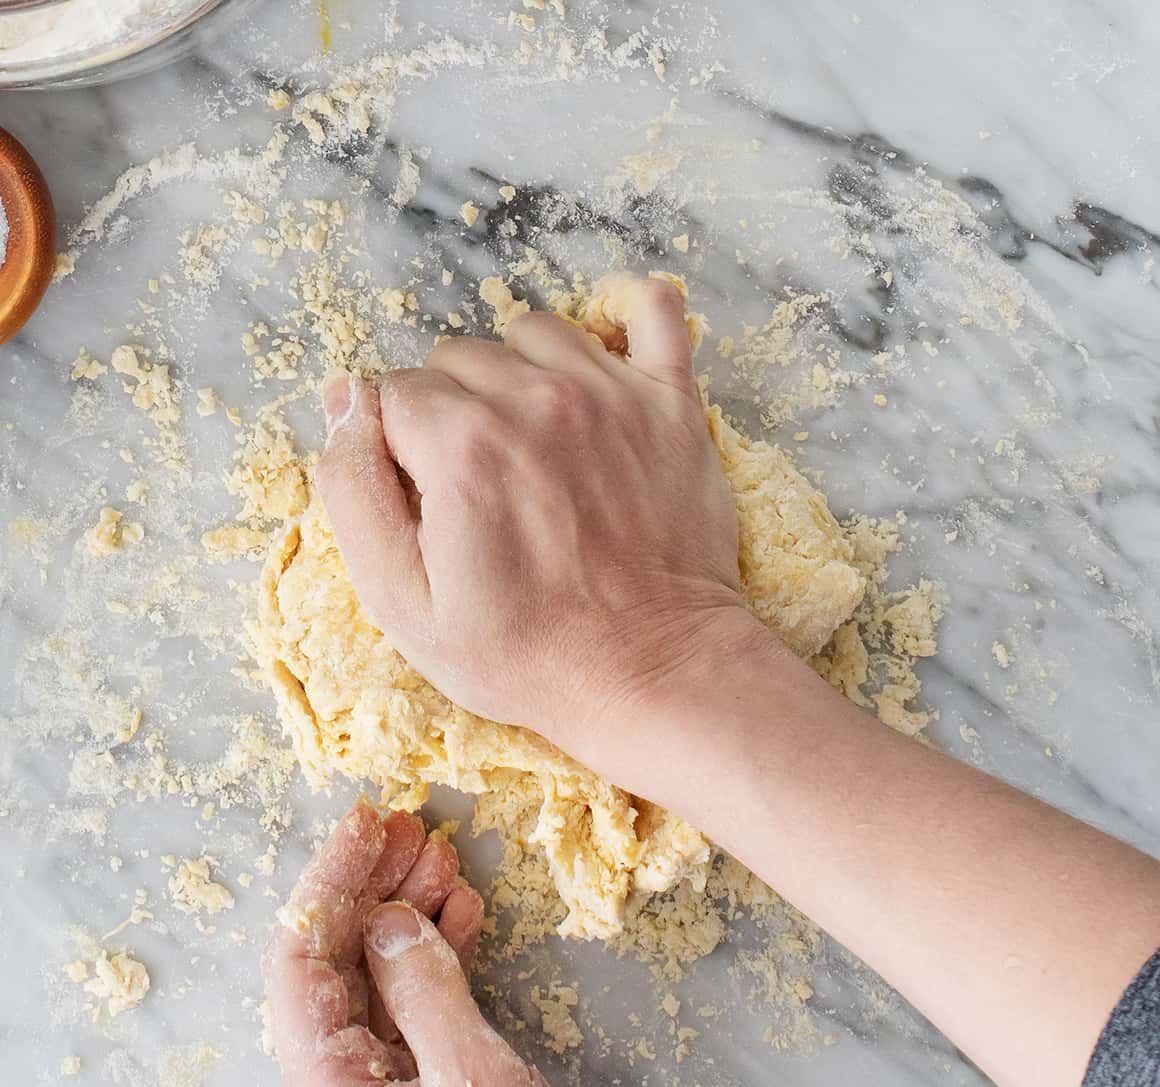
Then, knead! At the beginning, the dough should feel pretty dry, but stick with it! It might not feel like it’s going to come together, but after 8-10 minutes of kneading, it should become cohesive and smooth:

If the dough still seems too dry, sprinkle your fingers with water and continue kneading to incorporate it into the dough. If the dough becomes too sticky, dust more flour onto your work surface.
When the dough comes together, shape it into a ball and wrap it in plastic wrap. Let the dough rest at room temperature for 30 minutes.
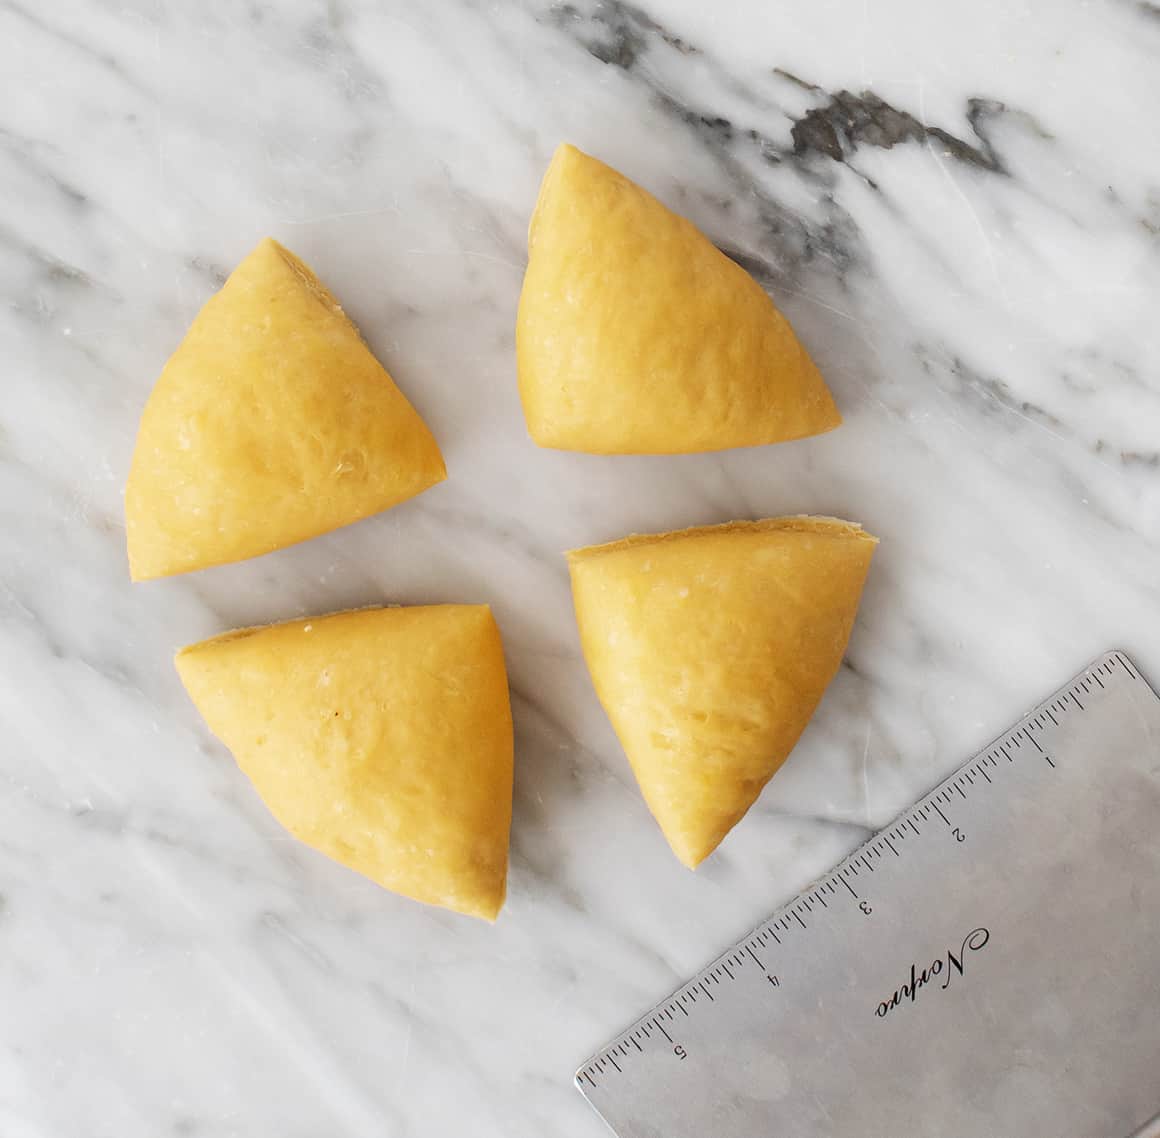
After the dough rests, slice it into 4 pieces.
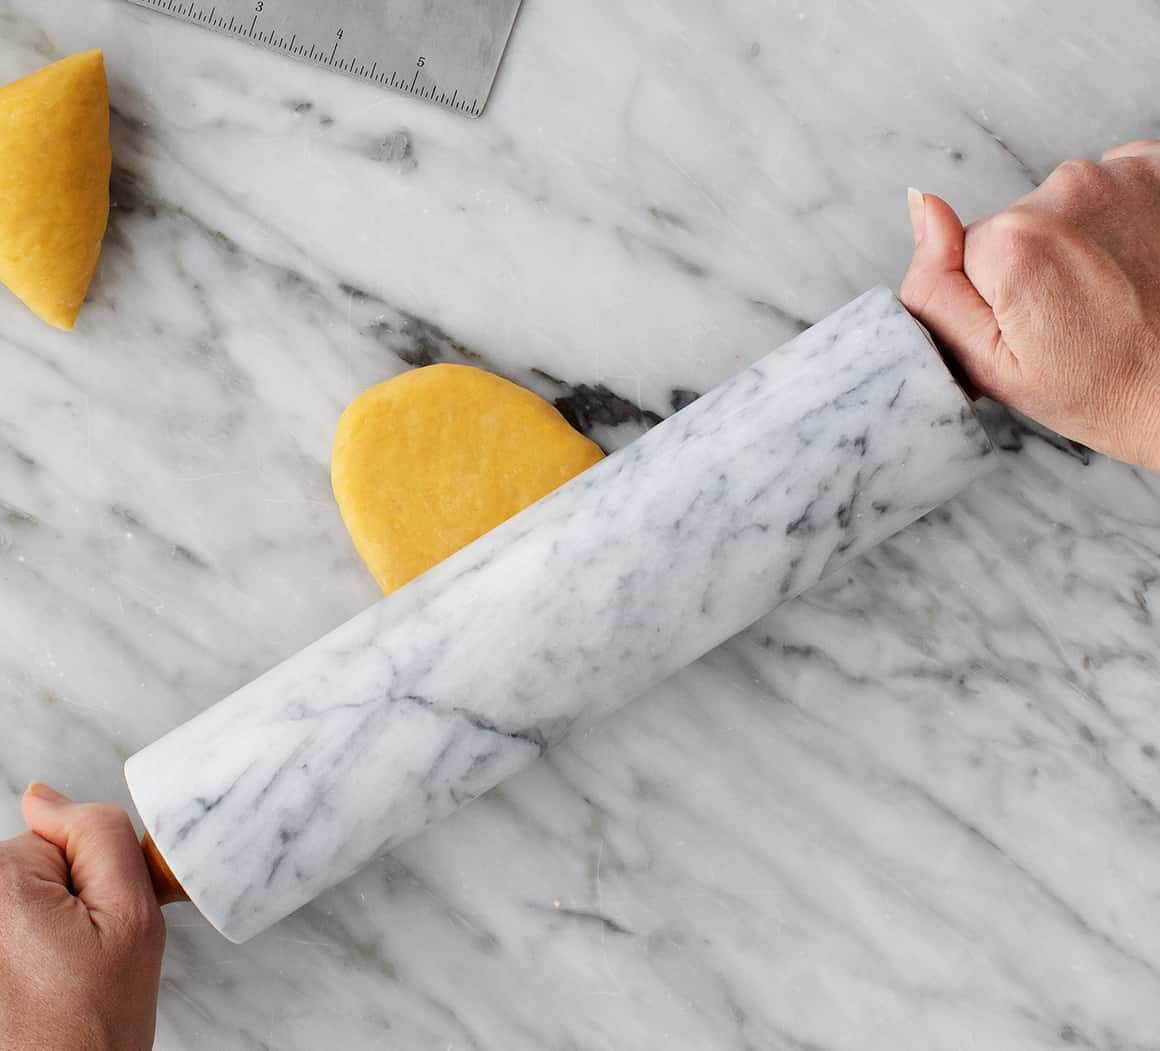
Use a rolling pin or your hands to gently flatten one into an oval disk.

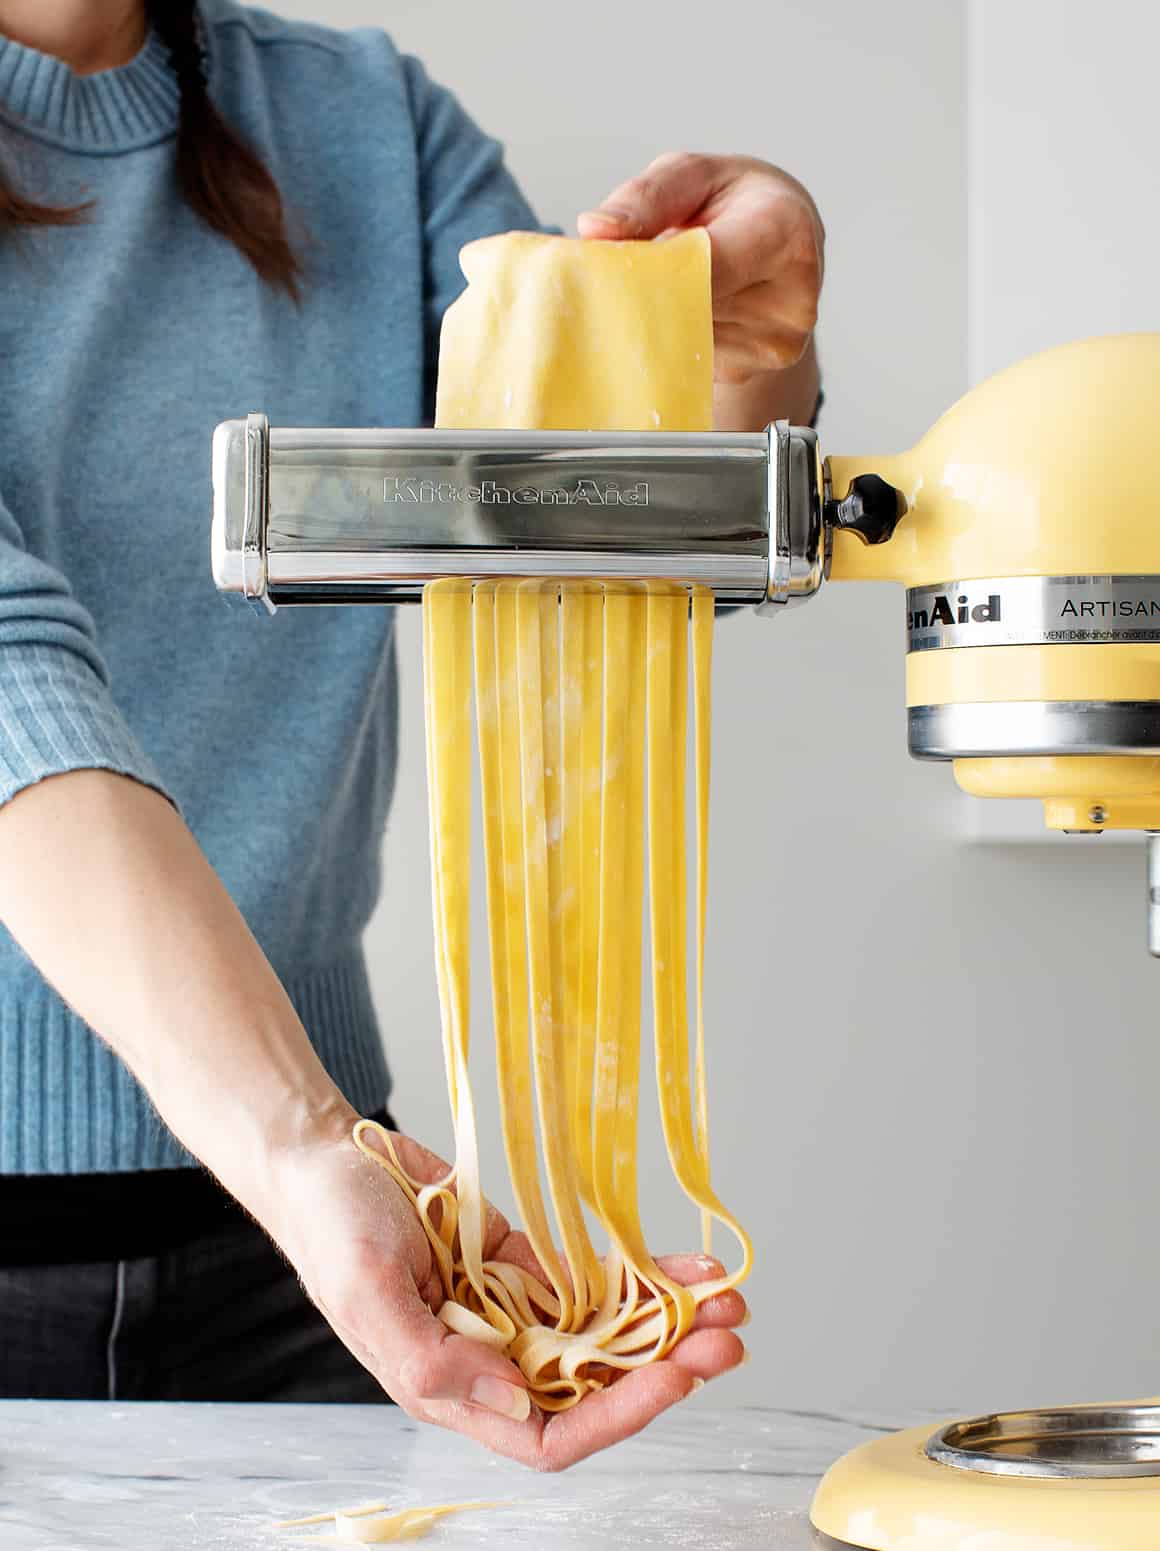
Then, run it through the widest setting of your pasta maker (level 1 on the KitchenAid attachment). I run the dough through the pasta maker 3 times on this setting before proceeding to the next step. If you don’t have the KitchenAid attachment, roll out the dough according to your pasta maker’s instructions.

Next, fold the dough… if you want to. This step is somewhat optional, but it will make your final pasta sheet more rectangular, which will yield more long strands of pasta. Plus, it’s super simple! Just lay the dough flat and fold both short ends in to meet in the center.

Then, fold it in half lengthwise to form a rectangle.

Once you’ve folded the dough, roll it out to your desired thickness. On my KitchenAid attachment, I run it through the pasta roller three times on level 2, three times on level 3, and one time each on levels 4, 5, and 6.
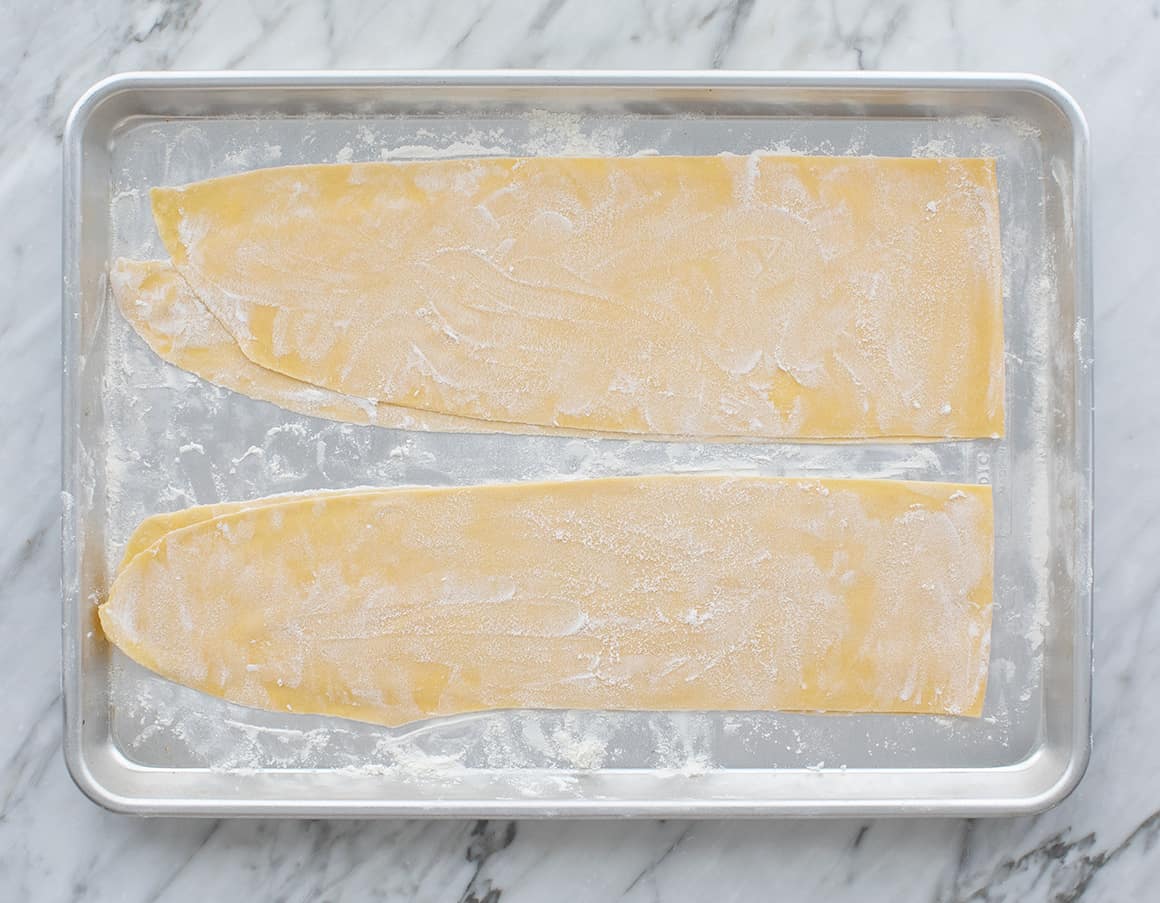
Repeat these steps with the remaining dough pieces. Each time you finish with a piece of dough, lay one half of it on a lightly floured baking sheet. Sprinkle the dough with flour, and fold the other half on top. Sprinkle the top with flour, too!
Finally, cut and cook the pasta. Run the pasta sheets through your desired pasta cutter attachment. Cook the noodles in a pot of boiling salted water for 1 minute, and enjoy!
Homemade Pasta Serving Suggestions
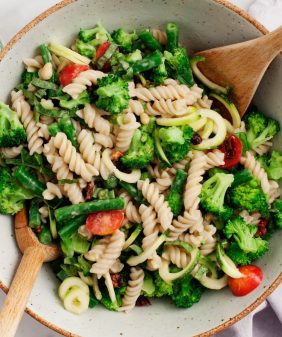
If you’ve never had fresh pasta before, you’re in for a treat! Its chewy, bouncy texture and rich flavor make it so much better than the dried pasta at the store. In fact, these noodles are so good that we usually serve them really simply. They’re fantastic with marinara sauce, pesto, or olive oil and vegan Parmesan or Parmesan cheese.
Of course, they’re delicious in larger pasta dishes, too. Use them instead of dried pasta in any of these recipes:
- Tagliatelle with Asparagus & Peas
- Spaghetti Aglio e Olio
- Fettuccine Alfredo
- Easy Pesto Pasta
- Roasted Vegetable Pasta
- Linguine with Lemon and Tomatoes
- Garlic Herb Mushroom Pasta
Find more of my favorite pasta recipes here!


Homemade Pasta
Equipment
- KitchenAid Mixer (the stand mixer to use the pasta attachment)
- Pasta Attachment (my favorite KitchenAid attachment!)
- Baking Sheets (I use these nonstick ones from Nordic Ware)
Ingredients
- 2 cups all-purpose flour, spooned & leveled
- 3 large eggs
- ½ teaspoon sea salt
- ½ tablespoon extra-virgin olive oil
Instructions
- Place the flour on a clean work surface and make a nest. Add the eggs, olive oil, and salt to the center and use a fork to gently break up the eggs, keeping the flour walls intact as best as you can. Use your hands to gently bring the flour inward to incorporate. Continue working the dough with your hands to bring it together into a shaggy ball.
- Knead the dough for 8 to 10 minutes. At the beginning, the dough should feel pretty dry, but stick with it! It might not feel like it’s going to come together, but after 8-10 minutes of kneading, it should become cohesive and smooth. If the dough still seems too dry, sprinkle your fingers with a tiny bit of water to incorporate. If it’s too sticky, dust more flour onto your work surface. Shape the dough into a ball, wrap in plastic wrap, and let rest at room temperature for 30 minutes.
- Dust 2 large baking sheets with flour and set aside.
- Slice the dough into four pieces. Gently flatten one into an oval disk. Run the dough through the Pasta Roller Attachment or a pasta maker three times on level 1 (the widest setting).
- Set the dough piece onto a countertop or work surface. Fold both short ends in to meet in the center, then fold the dough in half to form a rectangle (see photo above).
- Run the dough through the pasta roller three times on level 2, three times on level 3, and one time each on levels 4, 5, and 6.
- Lay half of the pasta sheet onto the floured baking sheet and sprinkle with flour before folding the other half on top. Sprinkle more flour on top of the second half. Every side should be floured so that your final pasta noodles won't stick together.
- Repeat with remaining dough.
- Run the pasta sheets through the Pasta Cutter Attachment (pictured is the fettuccine cutter). Repeat with remaining dough. Cook the pasta in a pot of salted boiling water for 1 to 2 minutes.
Notes
adapted from Serious Eats


We just got back from Italy and want to make pasta for our grandkids. Can I make the dough up ahead of time, without flattening it, and have them knead and cut it? Can the noodle dough be stored ahead of time? Thanks for your time and this amazing recipe.
I do not have the pasta attachment for my mixer. I have to do it by hand. Any tips??
Hi Kelsey, you can do it by hand if you can try to roll it really thin and uniformly.
Did not work too dry
Hi Sam, sorry to hear you had trouble with the recipe! If the dough feels dry, I’d wet your hands with a little water and continue kneading to help it come together.
You must suck as a chef 🤣
I absolutely love this recipe. This is my 5th time making it and it turns out perfect every time. I was wondering if it could be made with gluten-free flour.
Hi Grace, I’m so glad you love the recipe! We haven’t tested this one with gluten-free flour, so I’m not sure if it would work. You may want to look for a recipe that’s specifically designed for gluten-free flour instead.
Your recipe works perfectly every time!
So glad you love it!
Great recipe thanks🩷
First time making pasta – perfect recipe & so excited to experiment more!
Great recipe
Do You know what measurements to use for 00 and semolina flour instead
Hi Amy, I would start with the same measurements and add the water as needed, according to the instructions. It should generally work the same.
Honestly better then my mil’s!
Ha, I’m glad you enjoyed it.
This is always my go-to pasta recipe. So much so that I know all the steps by heart. Always perfect.
Ha, I’m so glad it’s worked out so well for you!